Character Animation 101: Creating a 2D Mesh
Gamasutra started a really awesome guide for Character Animation, let’s check it.
Learn the basics of 2D character animation for film and game design through this introductory series, led by artist and DeepMotion intern, Frances Sierra. Follow her as she uses Creature for the first time, bringing to life an original character. This series will teach you how to design your own game-friendly character, create a 2D Mesh, rig your character for animation, and create a walk-cycle loop complete with lifelike secondary motions. The best part? The basics of each step should take you no more than 10 minutes to learn.
My name is Frances Sierra and I am a 3D artist, gamer, and VR enthusiast. I graduated from the Animation and Visual Effects department at the Academy of Art University in the Spring of 2017 and recently began an internship at DeepMotion. Through this series, I’ll be helping DeepMotion teach absolute beginners the basics of character animation. My passion is for art, technology, and the way the two merge to push the boundaries of storytelling. In particular, I love the storytelling possibilities specific to VR and games that hinge on user participation and interaction.
A key component for making participatory gameplay work is character animation that convinces the user that their choices are meaningful. Even games with intricate, non-linear storylines are at the mercy of believable animation. For example, the RPG Mass Effect: Andromeda (Bioware, 2017)—although designed for high-impact story and user immersion—was hindered greatly by emotionless facial animation and poorly executed walk cycles. Pouring life into a character can be as simple as adjusting the weight of its limbs or the bounce in its step. Our 2D animation software, Creature, helps simplify this process, opening up the possibilities of creating worlds that are fleshed out with colorful characters; by texturing, rigging, and animating a character to have distinctive posture, vibrant facial expressions, or specific mannerisms, an artist can bring out their stories.
Since I had never done physics-driven 2D animation, it took some time to learn which settings would get Pluma’s feathers or hair swaying just right. Overall, it took me about a week to go from zero knowledge of Creature to a polished walking animation (without a step-by-step tutorial to guide me). I’m certain if I went through the process all over again it would take a couple days, possibly hours, to go from creating the artwork to producing a fully animated character. It can be intimidating to learn new software, but thankfully Creature streamlines most of the processes, making it a tool that is both powerful and beginner friendly. I would definitely recommend Creature for anyone looking for easy animation software to pick up and learn, hobbyists and professionals alike. I have only begun to tap into the potential of this tool, but have found a lot of inspiration from the creatives already utilizing Creature for their projects, check them out here.
Through this series you will get an understanding of how Creature works from the ground up. By the end of this you should have your own walking character, ready for an animated series or to be imported into any game engine. This tutorial is suitable for beginners with little to no experience animating.
Let’s get started!
What is a Mesh?
Imagine a chicken coop: fortified against hawks, foxes, weasels, coyotes, yet designed for the illusion of access to the outside world.
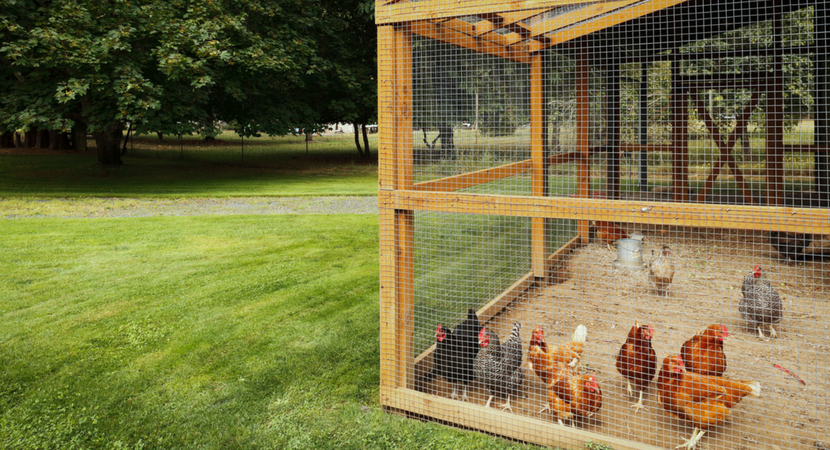
The material balancing these needs? The coop’s mesh lining—flexible, uniform, and sturdy enough to keep out malevolent critters. Similarly, in the world of animation, mesh is a choice material for the creation of flexible virtual characters. Like the wire cloth found at Home Depot, animators use a material made of conjoined polygons to “line” their characters. While 3D animators have always used meshes for their characters and objects, traditional 2D animation was created by drawing movements frame-by-frame. Even today, many 2D animation softwares do not support the use of 2D meshes.
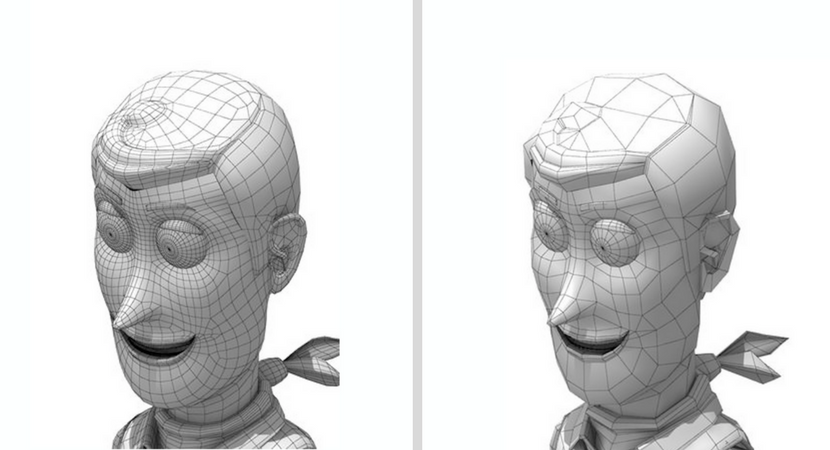
(Woody, from Pixar’s Toy Story series, as a high and low polygon mesh. Image from fabelar.)
These connected geometrical shapes break down the character into units that allow animation software to move and deform the object (similar to how images are broken down into pixels). One can think of the number of polygons on a virtual object as its resolution—the more units, the more nuanced and detailed the character can be: however, higher resolution also means the need for more computational power, so animators are always negotiating a balance between detail and function. This is why characters in games, whose motions must be generated (“rendered”) real-time, tend to have lower polygon counts than animated characters in film, which can be pre-rendered over hours or days on many computers. (It took 29 hours to render a single frame for Monsters University!)
We’ll begin our 2D animation course by taking advantage of virtual mesh. Rather than wrapping polygons around a 3D object, we’ll lie them flat underneath our character’s limbs and features: setting our 2D character up for the same procedural movement that allows 3D artists to animate with precision and speed. And, just like in 3D, the polygon count of our mesh will dictate the resolution of the 2D character’s movements.
Let’s get started!
Creating a 2D Mesh for Your Character
Step One: Design Your Character for Animation
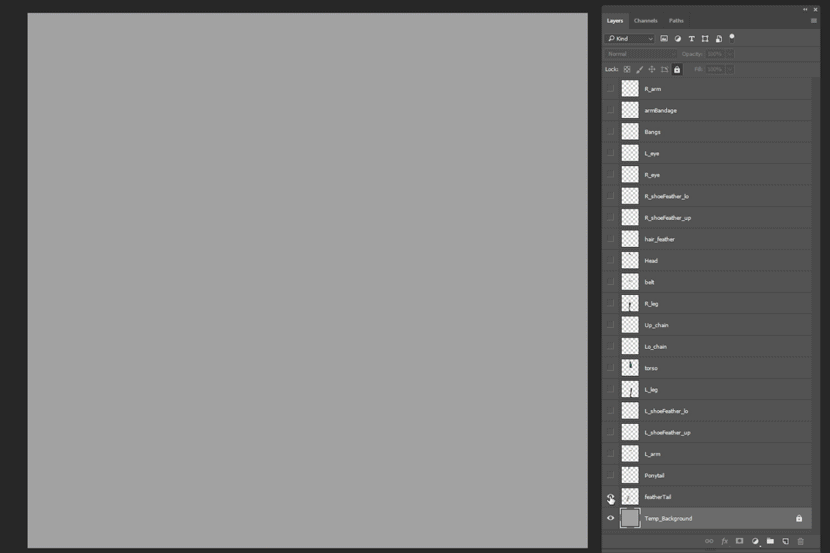
You’ll need to start with a character you want to animate. There are two formats you can use to import a character into Creature: an “Image Atlas” PNG file, or a PSD Photoshop file with layers.
An “Image Atlas” PNG is an image file with all the features of your creature separated out like a paper doll. PNG files support clear backgrounds, which the Creature Software will need to detect your creature’s limbs. Don’t know how to make a PNG? It’s easy! You can make one with Photoshop, or a free alternative like GIMP. Download my Pluma PNG example here.
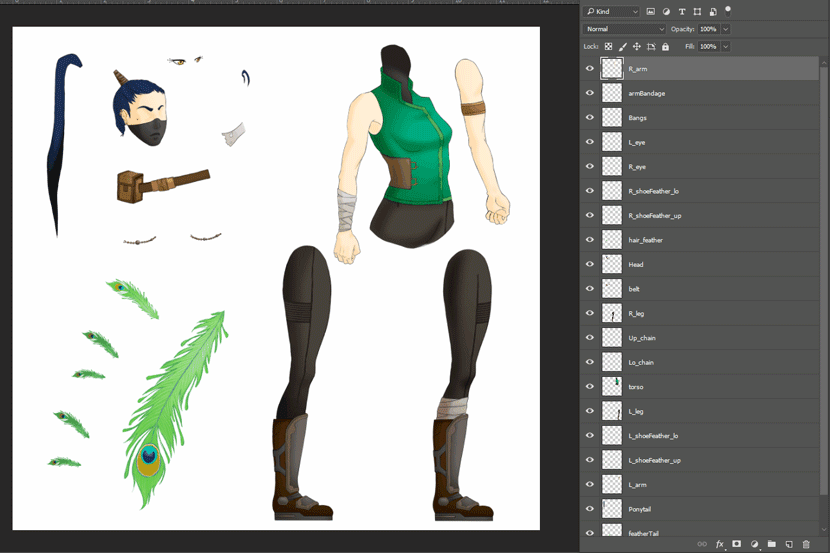
A PSD is a Photoshop file. Save your characters in this format with separate layers for each limb. (The Creature Software will even remember the names you given your layers and how they are arranged.) There are also many useful tutorials for Photoshop beginners. Download my Pluma PSD example here.
Tips for Designing Your Character
By keeping these questions in mind, you can simplify the process for rigging and animating later on. The most basic, and possibly most important step in prepping your artwork for Creature is making sure your character is properly divided up (regardless of whether you are using a layered PSD file or an image atlas PNG).
Where will you see the most rotation? A good place to divide these pieces is where you expect to see extreme amounts of rotation. Anatomy is a great reference for this, consider the natural joints found in animals or the human body such as the knees and elbows. Other areas where you can expect to see rotation include a character’s shoulders, head, and thighs.
Which pieces can overlap? By dividing a character’s shirt and pants you can get overlapping that feels realistic rather than stretching and squashing from a solid piece of art. If your character has, say, a scarf or jewelry, you would want those items to move and react independently, rather than move statically with your character’s torso or limbs.
What materials are used for your Character? How do these materials react to physics or forces? Think of your character jumping up and down, or standing in extreme winds—how do you expect the different materials on your character to react? The most reactive materials or features will likely need to be separated (possibly into more than one piece). For example, flowing cloth, hair, chains, rope, tails, or feathers would all react in unique ways to outside forces. Or, If you have a human with metal armor, you can separate out the large metal pieces to ensure they remain rigid and do not squash and stretch during animation.
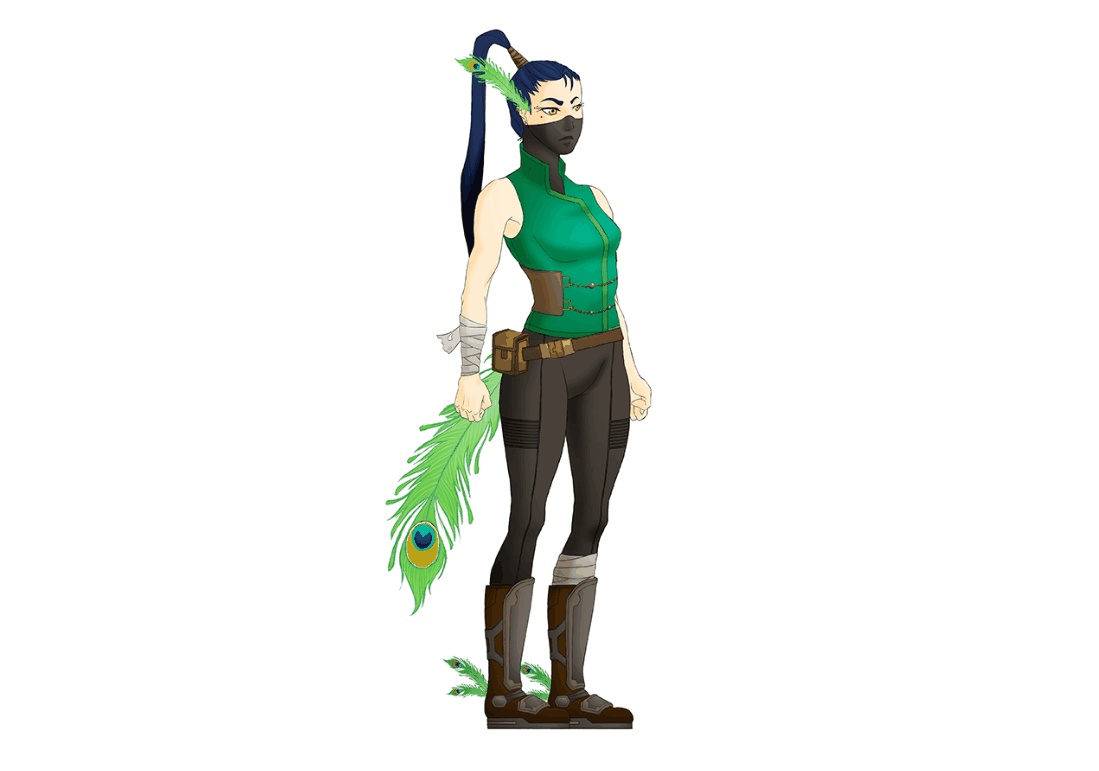
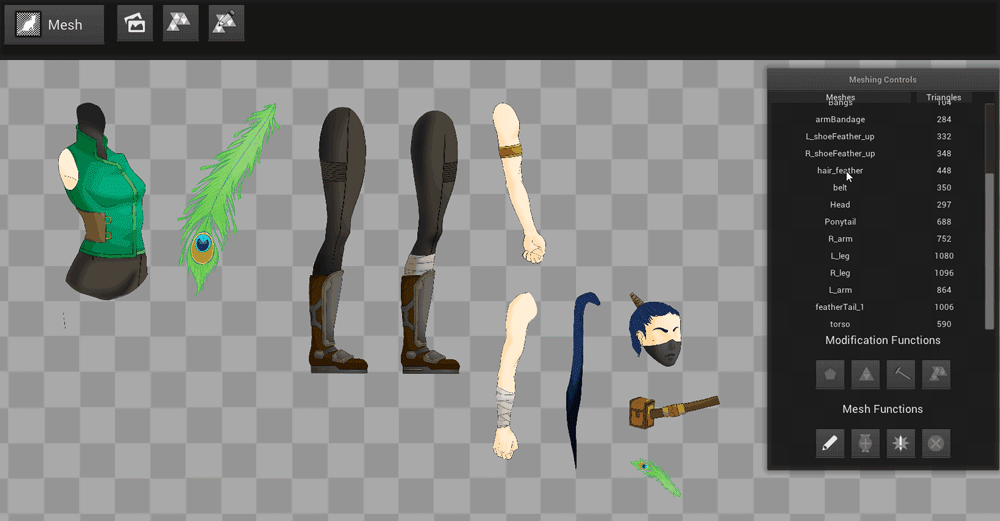
Do you have repeating elements? You can easily duplicate any piece within Creature, while also keeping the mesh you created from the start. When you progress through the software you can also move and scale these duplicated elements as needed. For the character I created, I duplicated the tail feathers, scaling some down for her shoes.
Does your character blink? Separate each eye that you want to have blink. When you start to animate in Creature you can apply a blink motor to automate this process.
It can be tempting to divide your character into a hundred pieces, but be economical when you are starting out and think of where you will get the most impact from separating out a piece. If you have too many pieces it can make creating each mesh and rigging take longer. You can also experiment with importing a solid character and see where you need more flexibility for rigging next time.
Step Two: Import Your Character
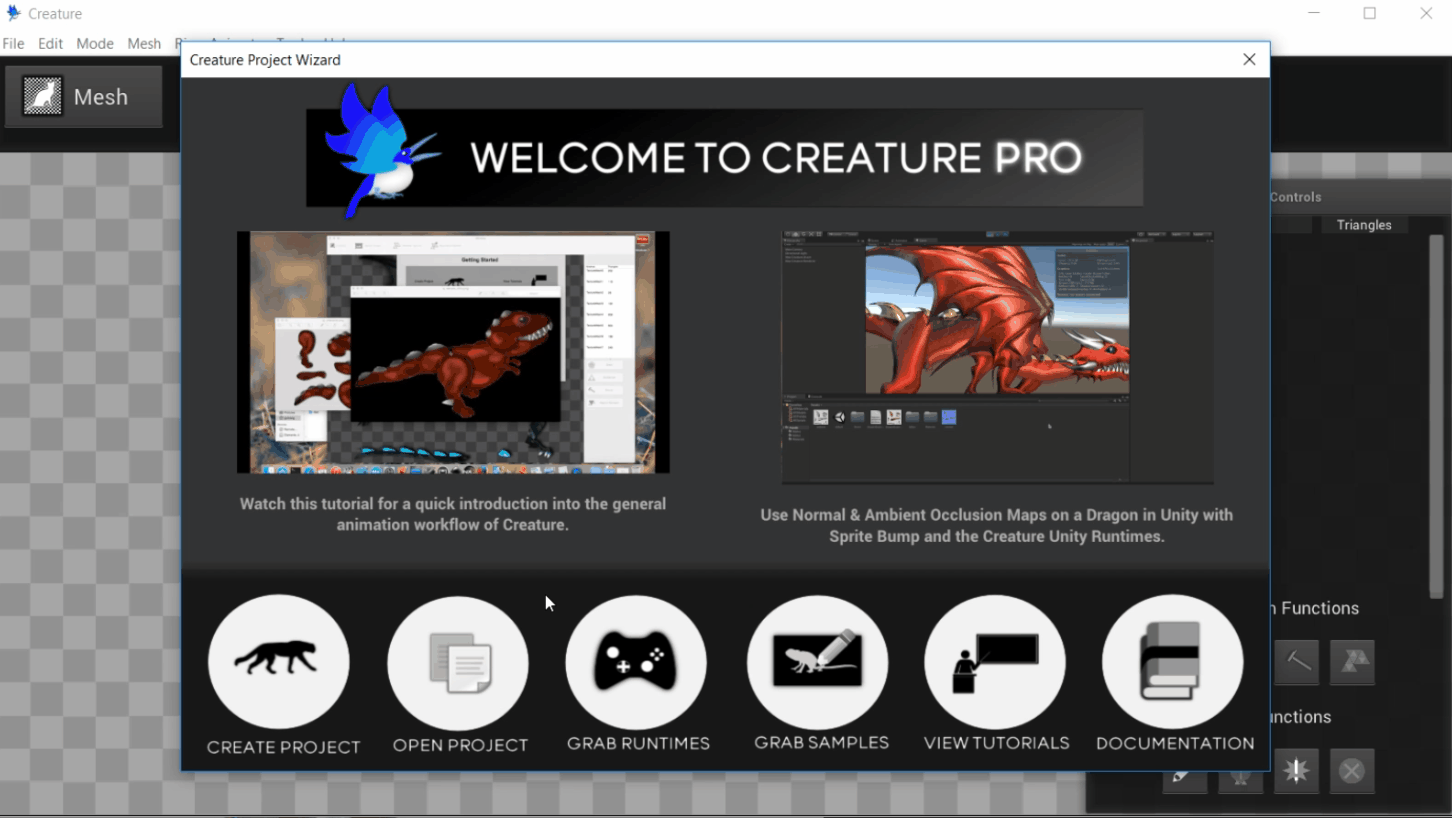
Once you have your file, open Creature, set a project folder, choose your file, and click “Create”! If you accidentally chose the wrong image file click the “Import” button next to “Mesh”. If you want to add additional limbs or features without replacing what you have already imported, select “Add/Insert New Image Part”. When adding a new image part you can position the new element as needed within Creature. See the bottom of this post for Creature download instructions.
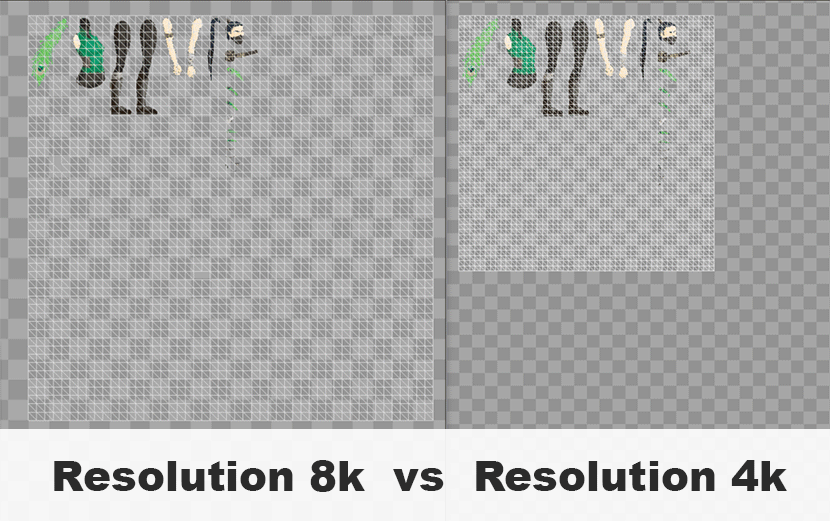
Pack Resolution will determine the size of your image when you export your animation later on. You can use the dimensions of your source image as a reference. If you are unsure, set this value to an increment of 256 (1024, 2048, 4096, etc), these are the common dimensions for texture maps used in games and animation.
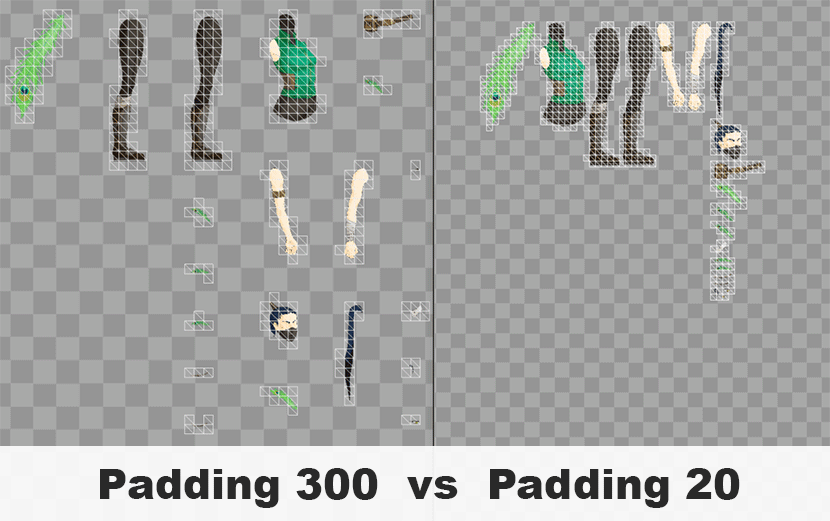
Padding determines how close or far apart each PSD layer will be laid out within Creature.
When importing a PNG, resolution and padding are already defined according to your file dimensions and laid out pieces.
Congratulations! Your character is now a 2D Mesh. Let’s make sure the Mesh is ready for rigging.
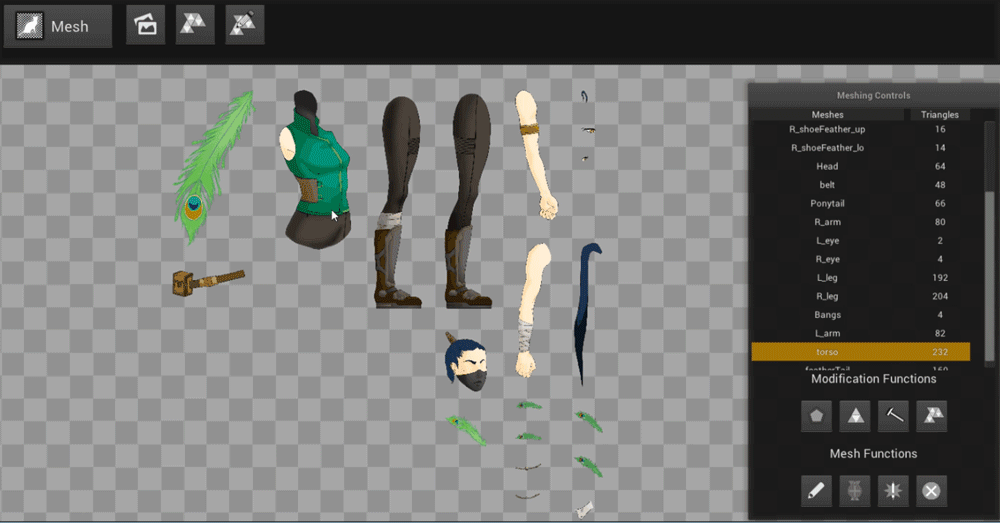
Step Three: Edit Your Mesh
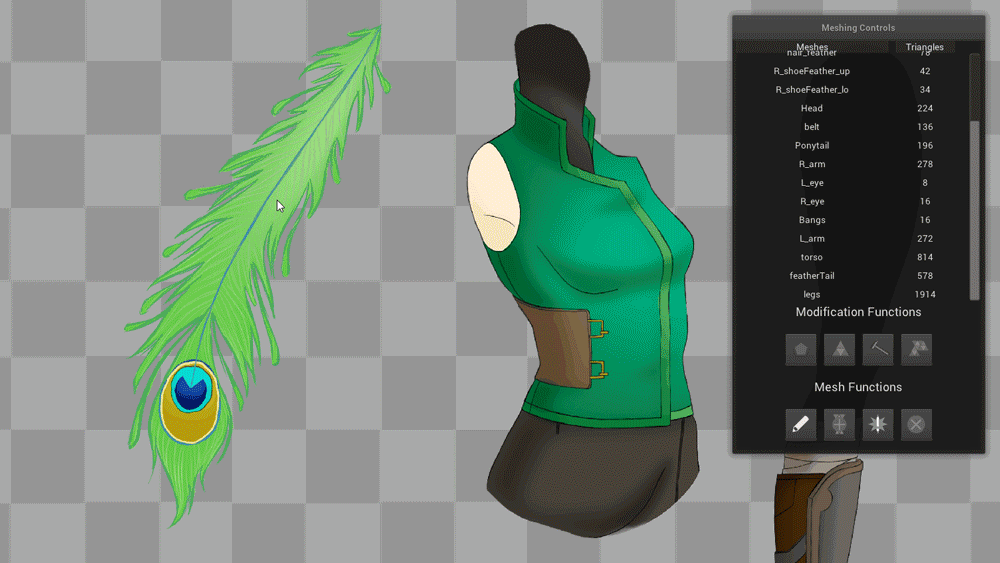
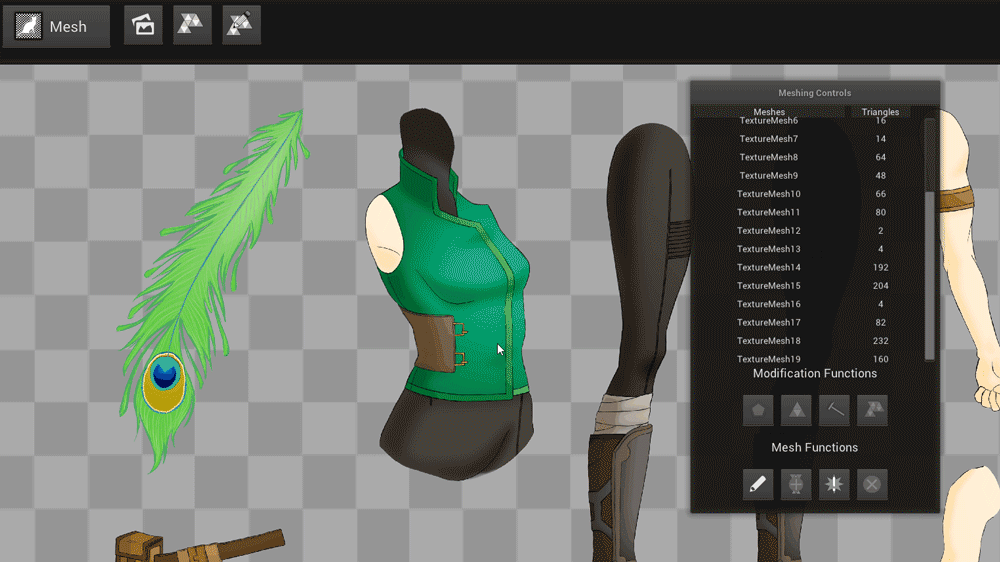
We’ll start by making sure everything is functional. To do this we need to make sure each of your features has a mesh region with distinct boundaries. This is also a good time to customize your character mesh resolution for optimal flexibility and function. The default resolution should work well for most.[1]
How to navigate Mesh Mode using a mouse:
Left Click = Select Mesh
Right Click+Drag = Panning
Middle Button Scroll = Zoom In/Out
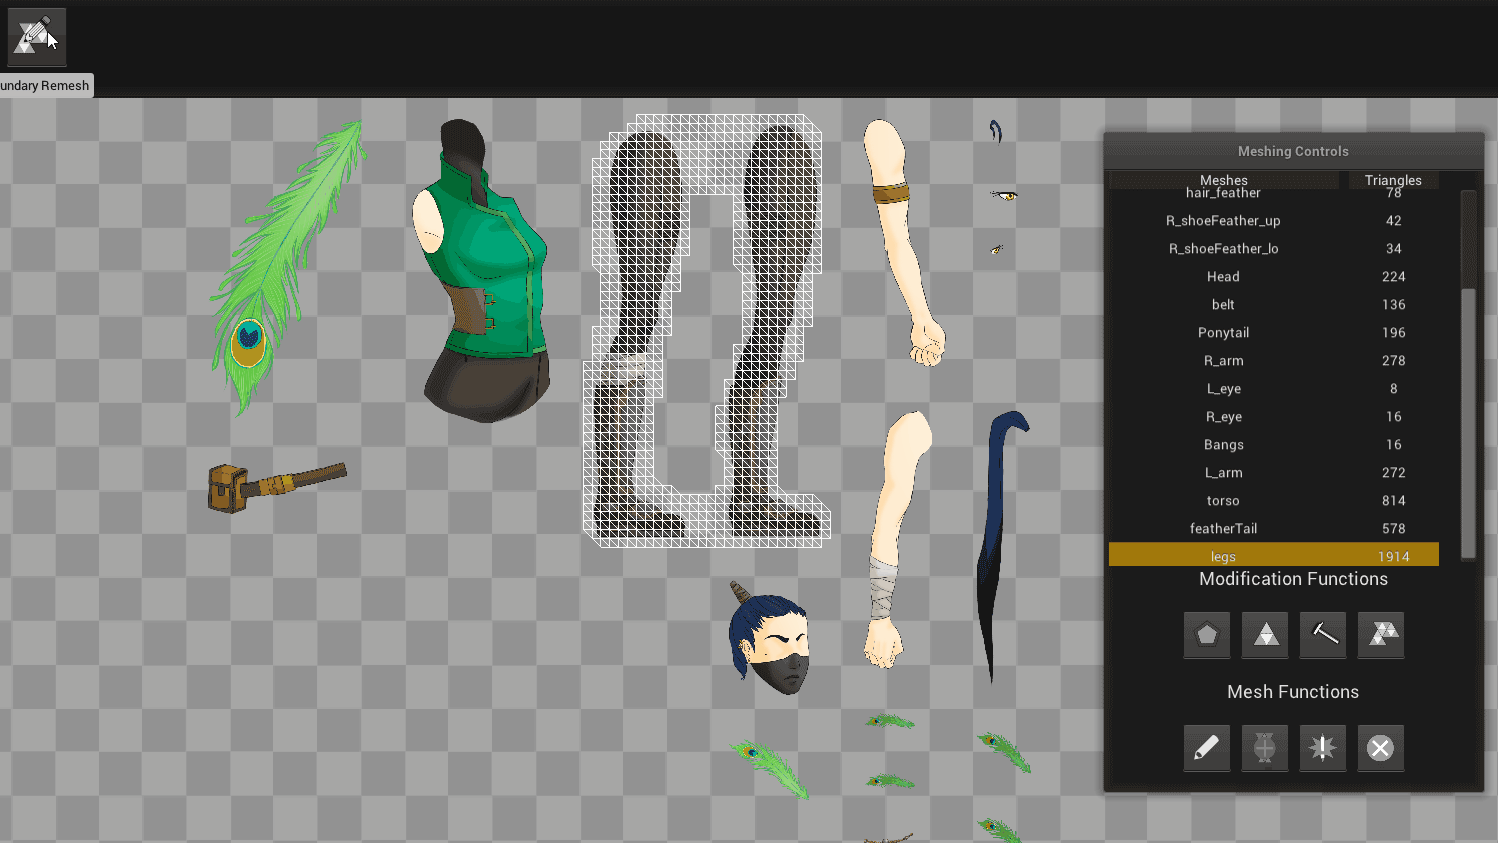
If the boundaries of your pieces have connecting mesh regions, you can redefine their boundaries using the “Boundary Remesh” tool on the upper left side of your screen. However, note that the Boundary Remesh tool will not preserve any existing names given to your mesh regions.
To increase or decrease the resolution across all your mesh regions, use the “Remesh” tool on the upper left side of your screen. This will dictate how many polygons there are in your mesh. (You’ll be able to adjust the resolution of individual regions later.)
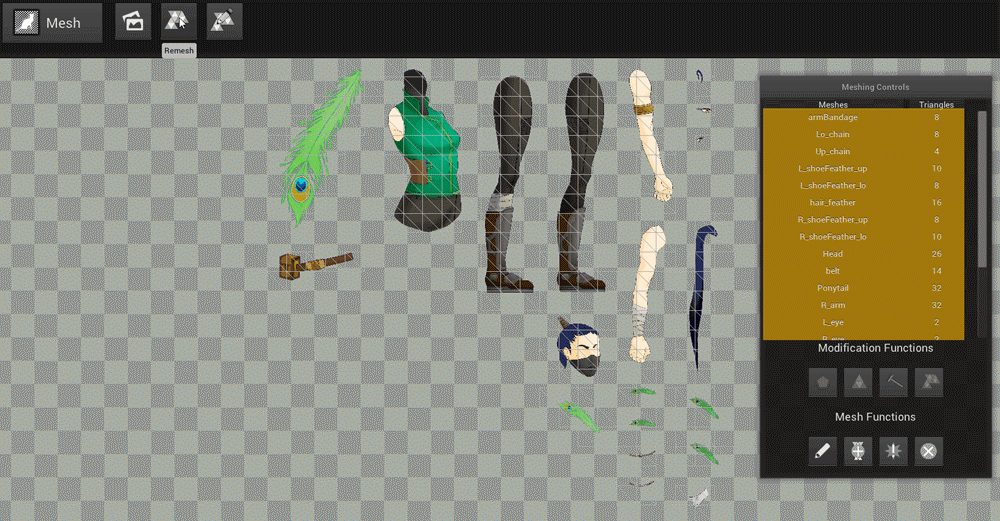
Step Four: Refine Your Mesh Regions
Now you are ready to fine tune the mesh of each feature.
To create a custom polygon, conjoin two mesh regions, add a new mesh, or to delete a mesh, use the “Mesh Functions” panel on the lower right hand side of your panel. Keep in mind, meshes need to be the same resolution to be merged.
For Pluma, I used these tools to achieve a medium to high resolution (between 100-200) for each piece, in order to ensure I got the range of movement I needed; some elements needed more polygons in order to create a believable bounce, sway, or dangle during animation. For these pieces, such as the small feathers on Pluma’s shoes, I used either the “Subdivide” or “Region Remesh” tools to get the necessary resolution.
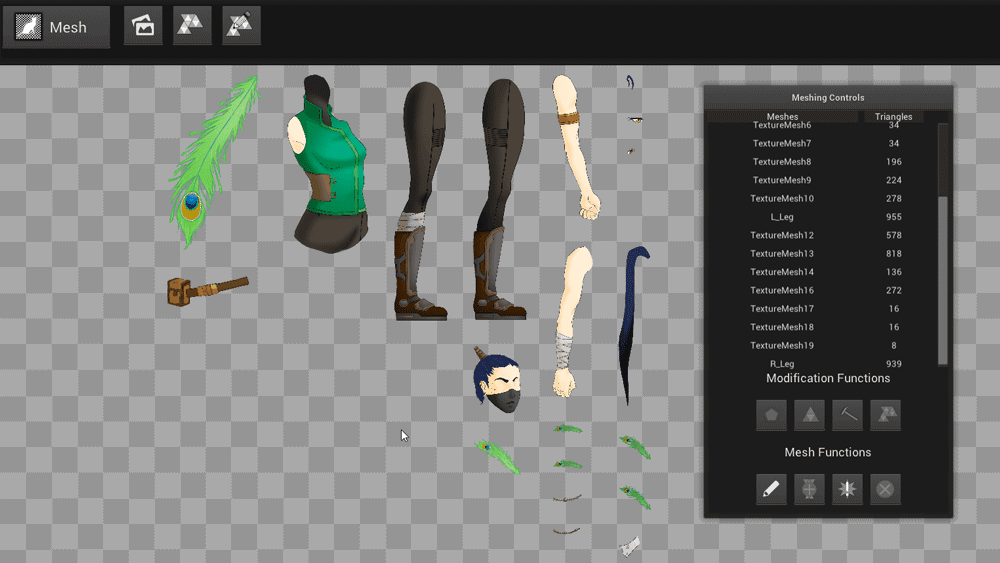
Then I would use the Modification Functions to refine the mesh regions according to the silhouette of each piece. Creature allows you to optimize your animation during export, so I didn’t need to worry about having too high a polycount during this phase of my project.
I also tried to get my polygons to all have a square ratio of 1:1 because this is the easiest way to get predictable results during animation. When your polygons do not form perfect squares you may end up getting unexpected deformations.
Step Five: Check and Save
Click through your mesh regions to make sure everything is how you want it. And you’re all set! Don’t forget to save your project.
Guide source: gamasutra.com
If you need a 3D models to work with, you can find them on our marketplace.