Behind the Scenes: Home Remodeling
My name is Jorge De Castro and I am a graphic designer who lives in Barranquilla, Colombia.
I have been using Blender for about 4 years, learning it from YouTube tutorials and through experimentation. I usually use it for rendering and modeling for renders and 3D printing.
I work in an architecture studio where everyone except for me works with Sketchup, a software I don’t really like. Since it’s free, I was allowed to install and test Blender, and after integrating it with the workflow of the team, it is the software I use for all the 3D related work I do.
Home Remodeling
The renders at my workplace are usually done in Lumion, but when my boss wants to really impress a client, that’s when Blender takes action. That’s the case for “Home remodeling”, a house that was already under construction, whose owners wanted to do some last minute changes.
So my boss called me and told me that the client was coming the next day and he needed the renders. Of course I couldn’t have done it alone in that small amount of time, and that’s where the integration of Blender showed off. As I looked for textures and images to create the materials, two of my coworkers were modeling the house (in Rhinoceros), and the furniture (in Sketchup). It was my first time trying out the “principled bsdf shader”, a bad time to experiment, but it turned out faster to create the materials with this node than the old way I used to do them, by using the mix shader. We put it all together in Blender, and the only thing remaining was to incorporate the lighting.
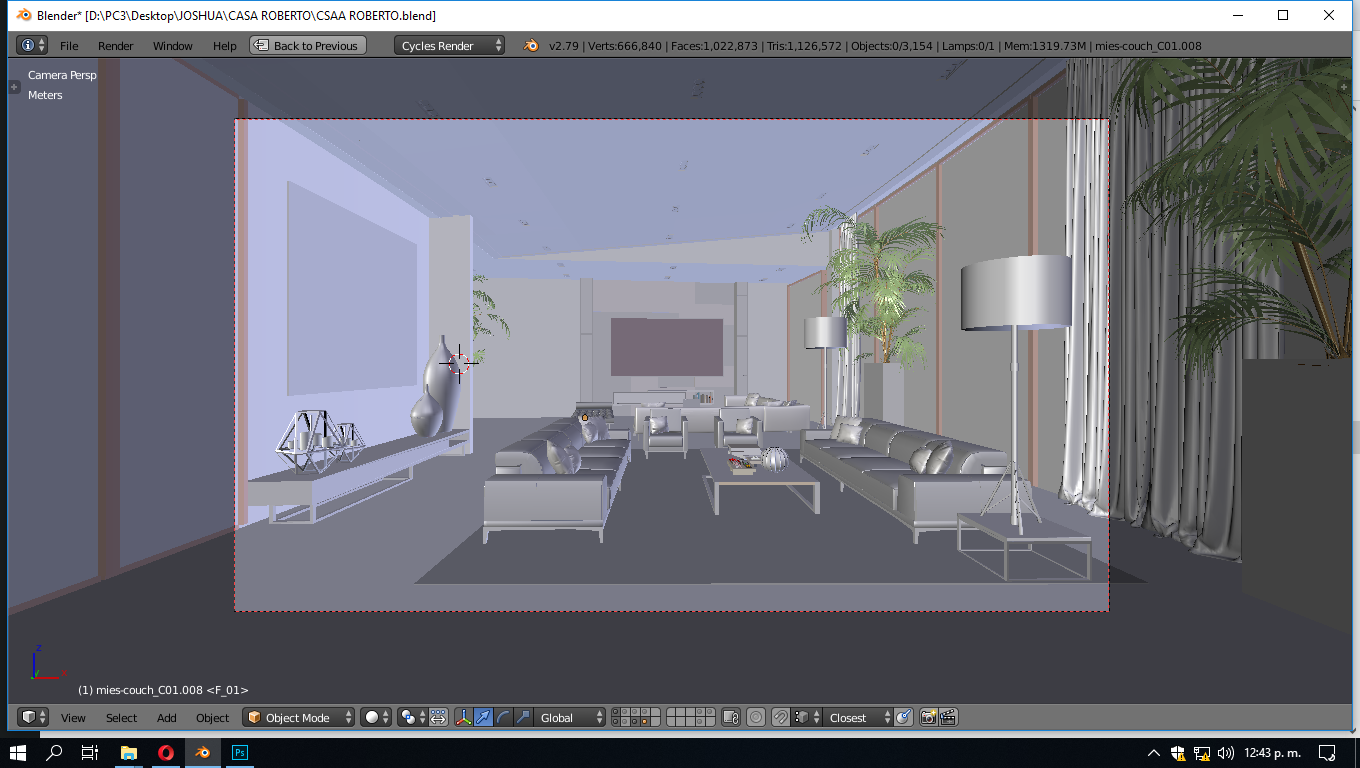
The lighting consisted of a couple of spot lights, a sun light, some emissive materials and an HDRI working together.


Here is a render of the space without the spot lights:
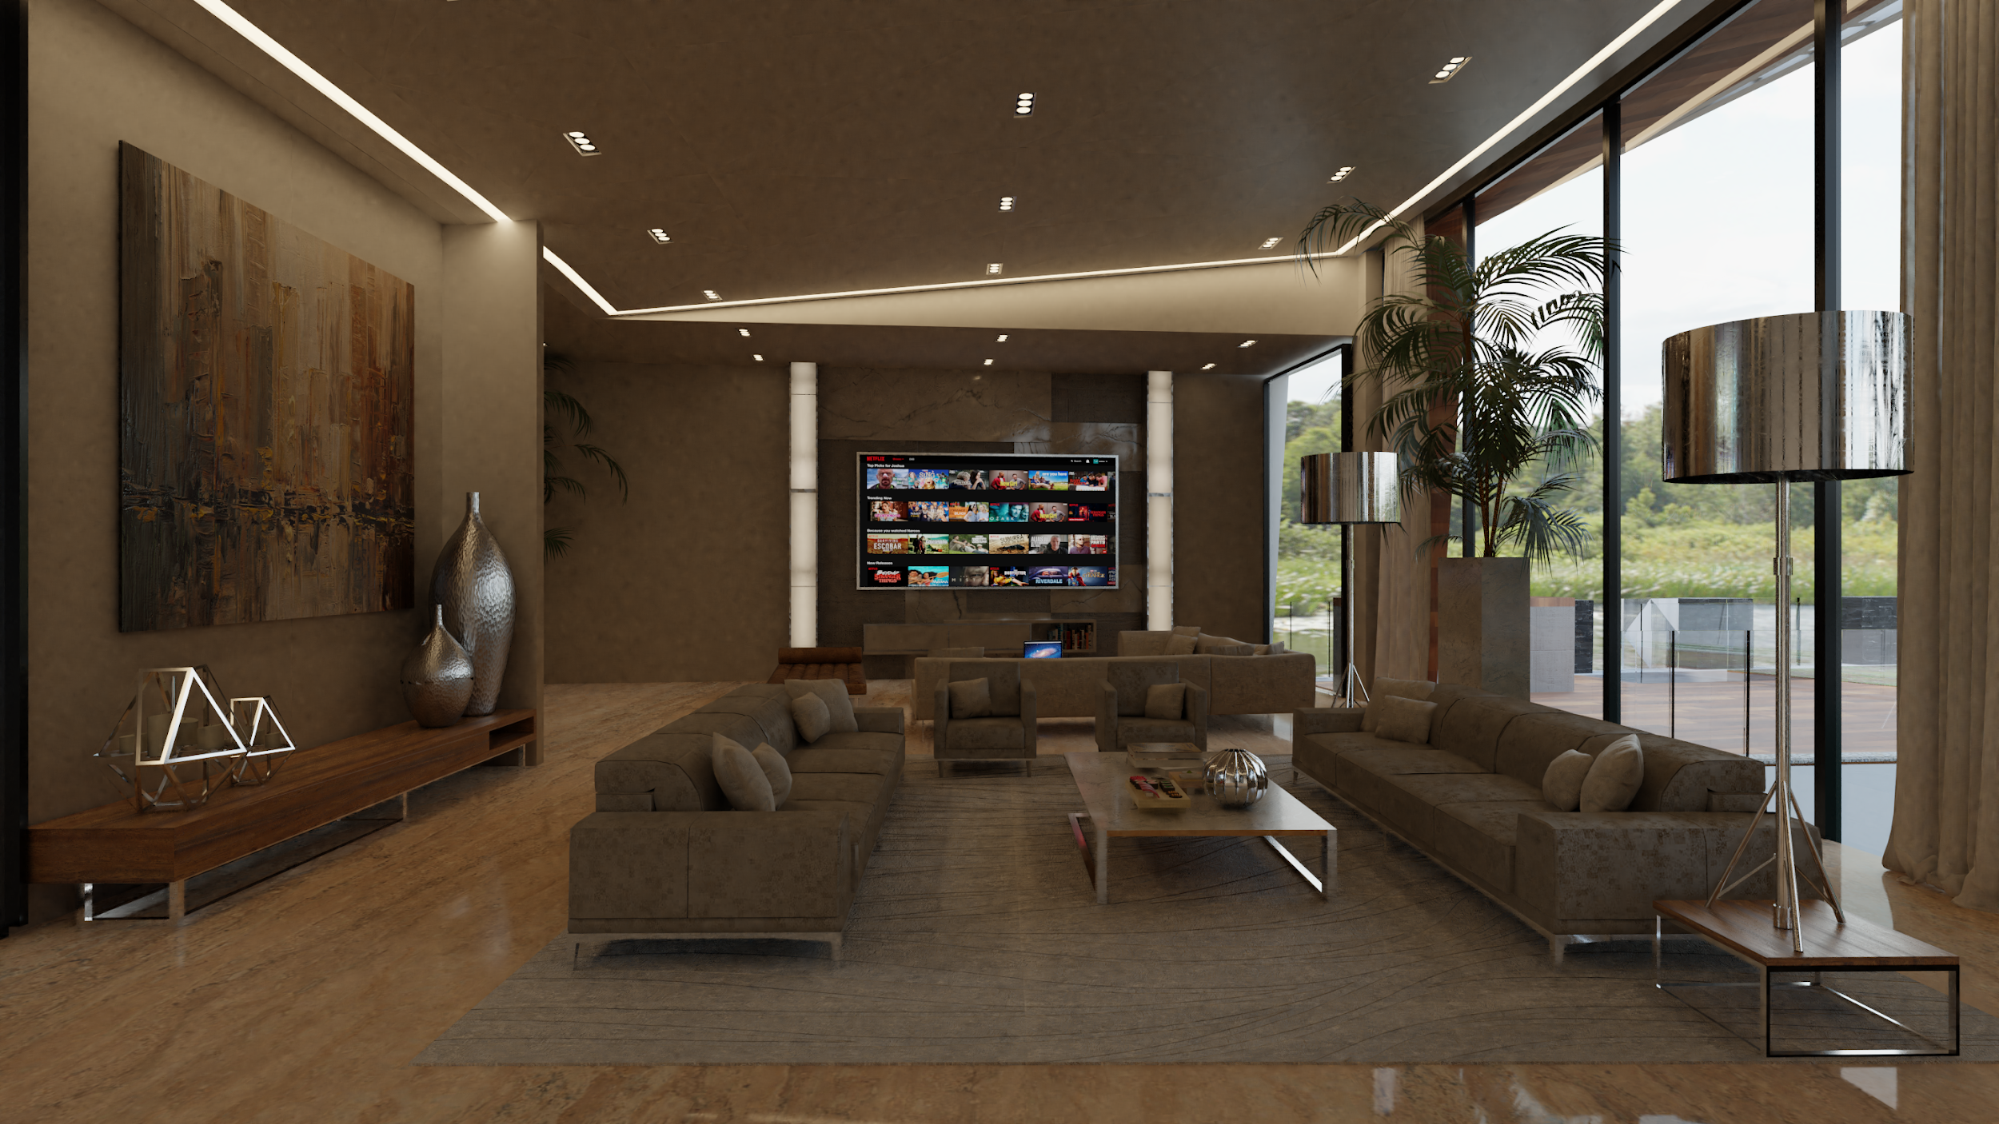
Conveniently, I have a good computer to do the renders. The CPU is an i7 7700, 16GB of RAM and 3 GPUs, 2 GTX 970, and a GTX 1060. Using denoiser to keep down the samples I was able to get about 15 min renders with 2880 x 1620px resolution.
Here’s how the raw render looked:
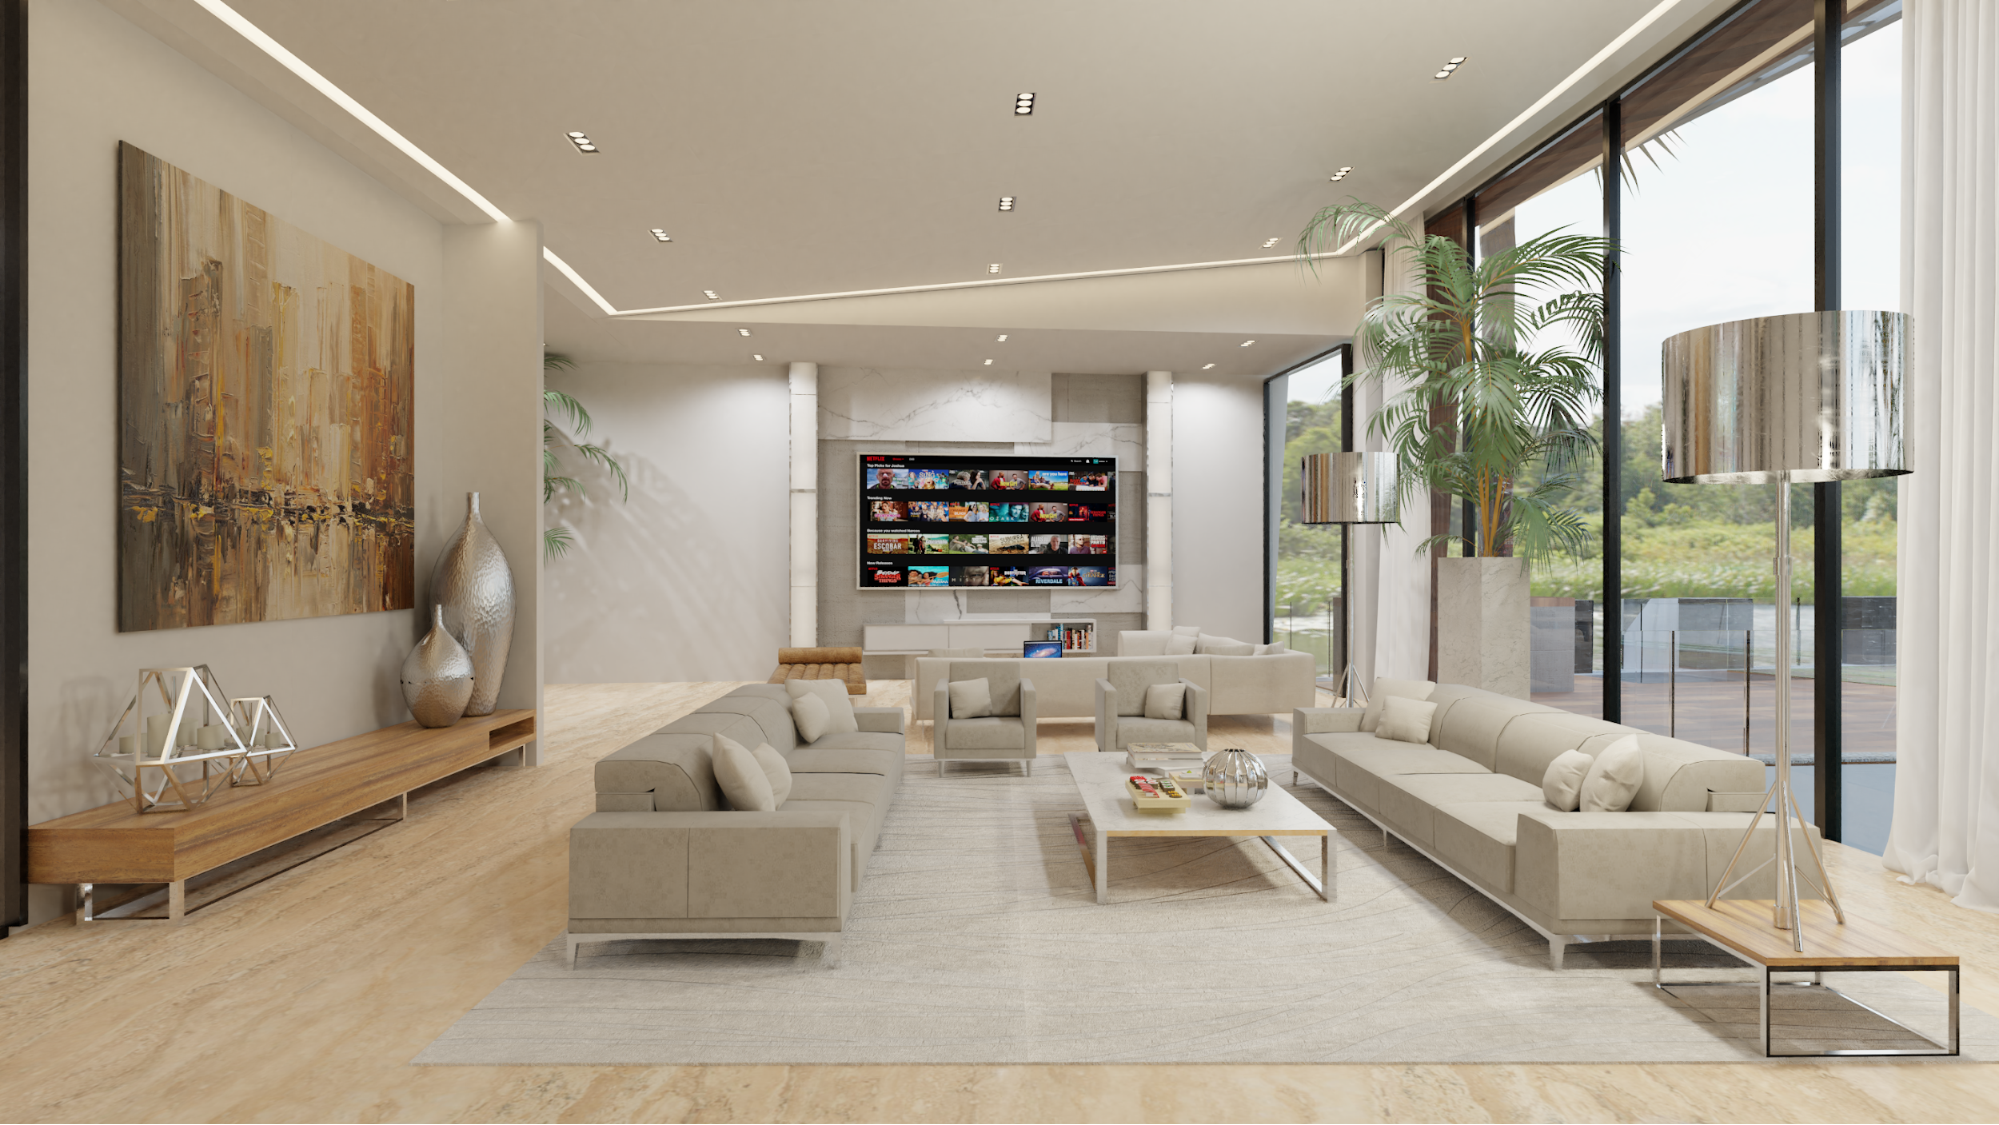
After rendering, I did some editing in Photoshop to improve the lighting and correct some errors that occurred due to the rushed process.

And that’s it. I think I have never had to do something so rushed before, so I wouldn’t be surprised if there were errors that I didn’t notice.
