Behind the Scenes: Classic Yet Homie
Greetings, my name is Remi Triadi, I’m from Indonesia and I’m working as a Creative Director at KunkunVisual, an emerging architectural visualization company in my country.
I loved architectural renderings back when I studied Architecture at the University. I think it has been almost 5 years since then. First, I started using SketchUp and the first rendering program I ever used was V-ray for SketchUp. Seeing a lot of references from @renderbox.magazine on Instagram inspired me to take rendering more seriously and take a leap of faith to dig in this industry.
In 2017, I researched what tools were available for free commercial use so that after I graduated I could start making money without paying expensive licenses at the beginning. I discovered that Blender and Unreal Engine was the perfect combination. At that time, it just trial and error, but as the time passed, I knew it was a powerful software and had a lot of potential to be a leader in this industry. So I invested a lot of time in this software without thinking twice.
Enough with the introduction, so let’s get started with the scene breakdown.
So, I got a project from a friend of mine.
She had designs for an interior loft in Singapore; the only file I got from her was a 3D model from SketchUp and here’s the brief: she wanted to make just one view render scene of the living room. Oh, and about the camera angle, she left it up to me to suggest the best camera angle that I could shoot.
Moving the Scene into Blender from SketchUp
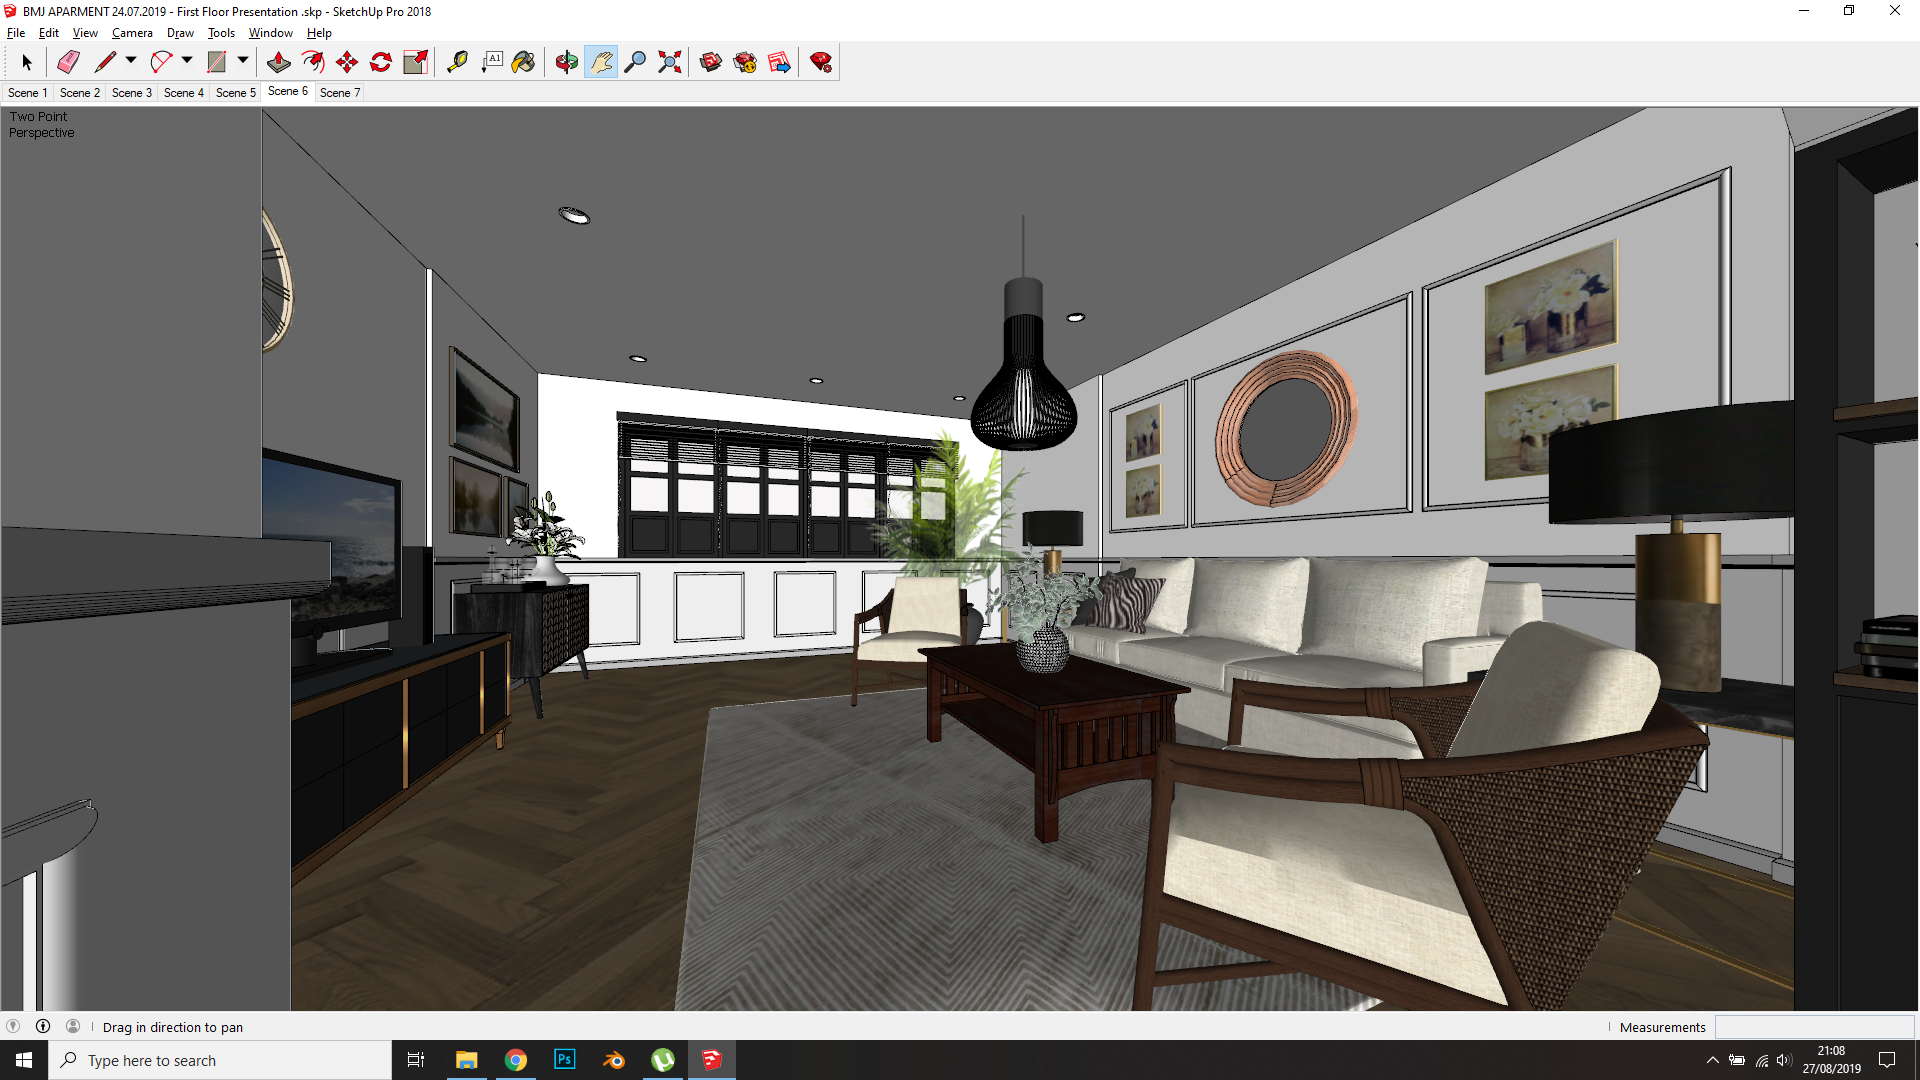
1. Here’s what the SketchUp file looks like (above).
2. The first thing to do was delete any unnecessary 3D models that were bad quality or that for sure couldn’t be used as a final result for the render. This was to reduce the exporting time of the 3D model itself (it makes a huge difference in most cases).
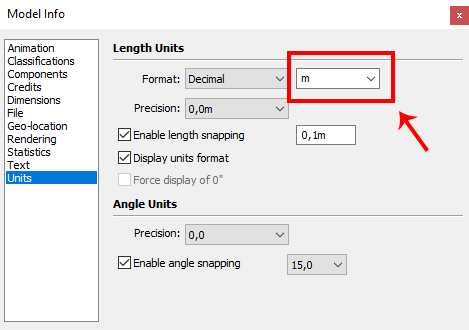
3. The second step was to make sure the unit setup of the SketchUp file was converted to metres, which ensure the right scale when you import the file into Blender.
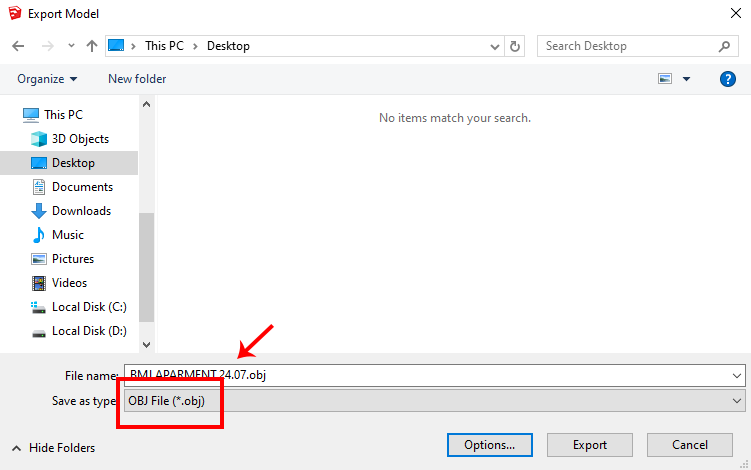
4. Export OBJ file at default settings.
5. Open the Blender file, and make sure you choose the render engine into Cycles first, so the OBJ file will bring up the texture within it.

6. Make sure the units settings change to Metric, 1.0000 Unit Scale, and Length:Centimeters.
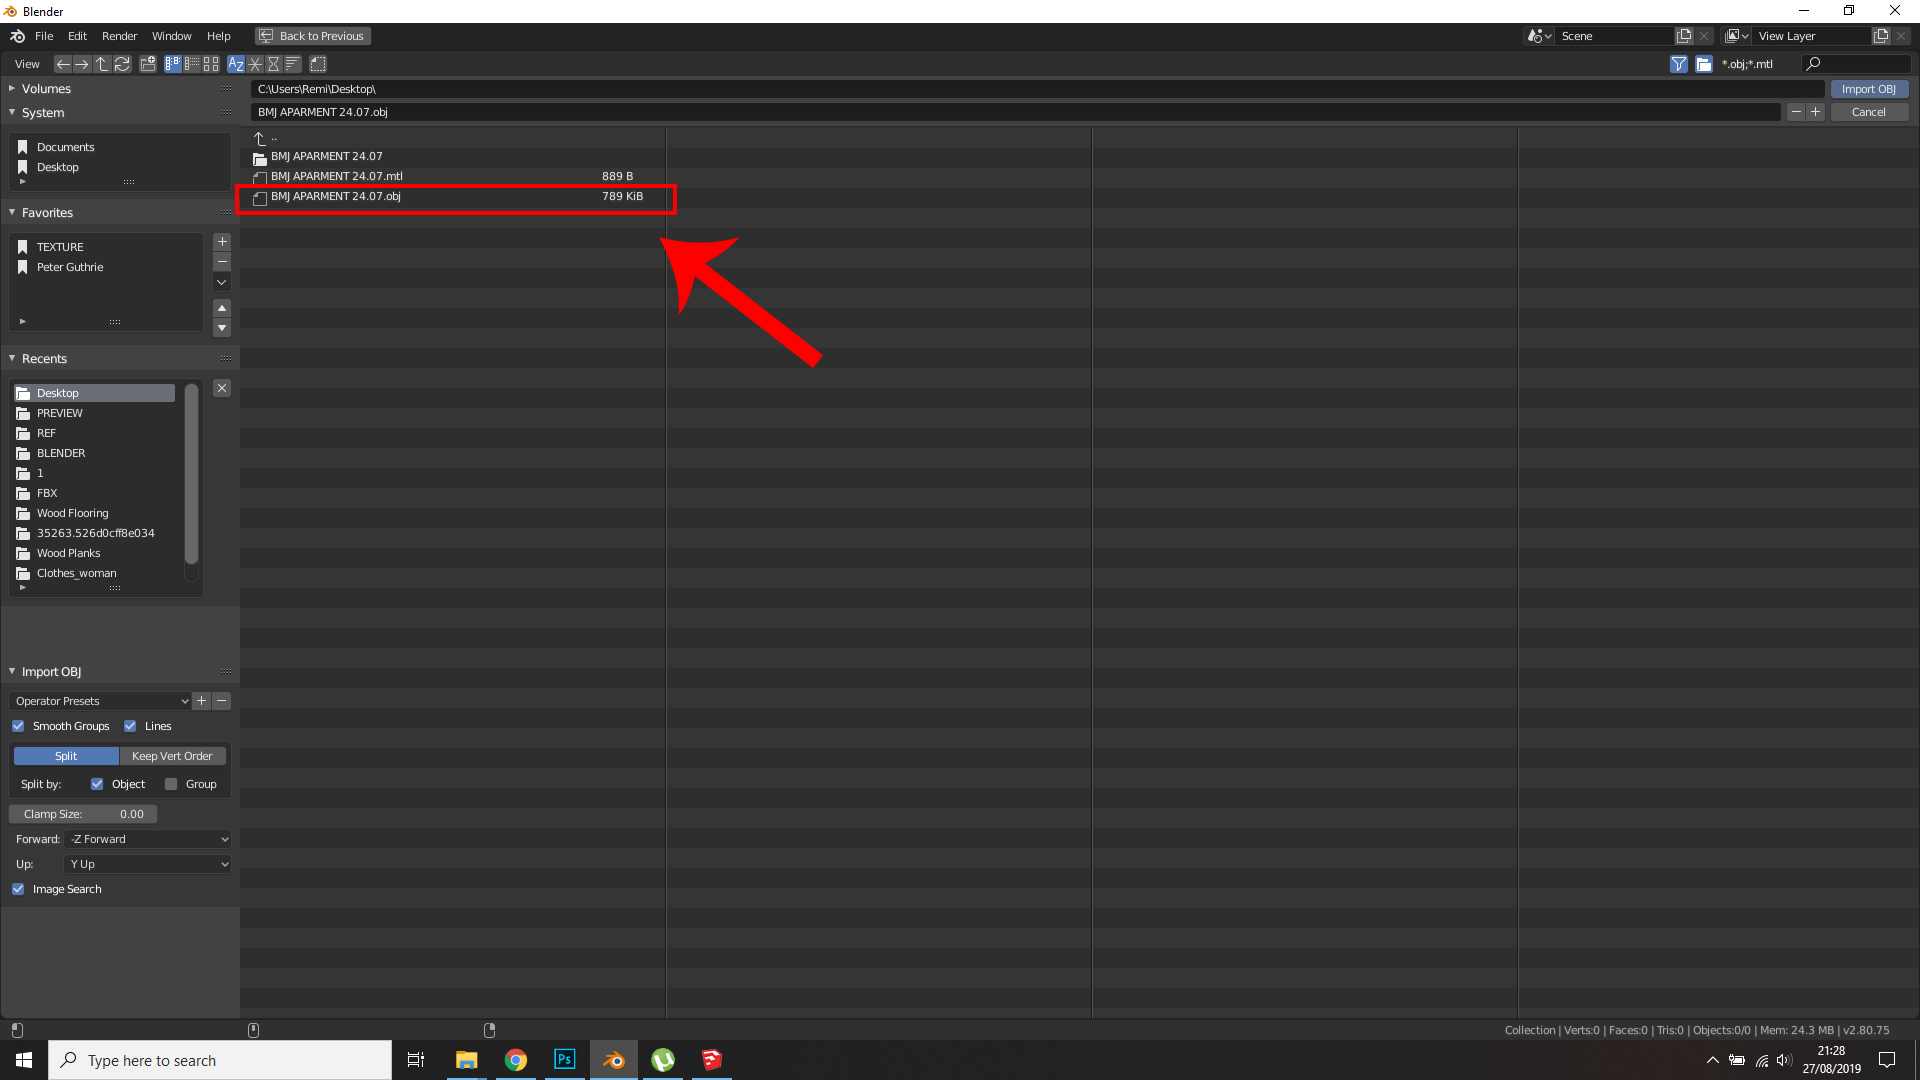
7. Import the .obj file.
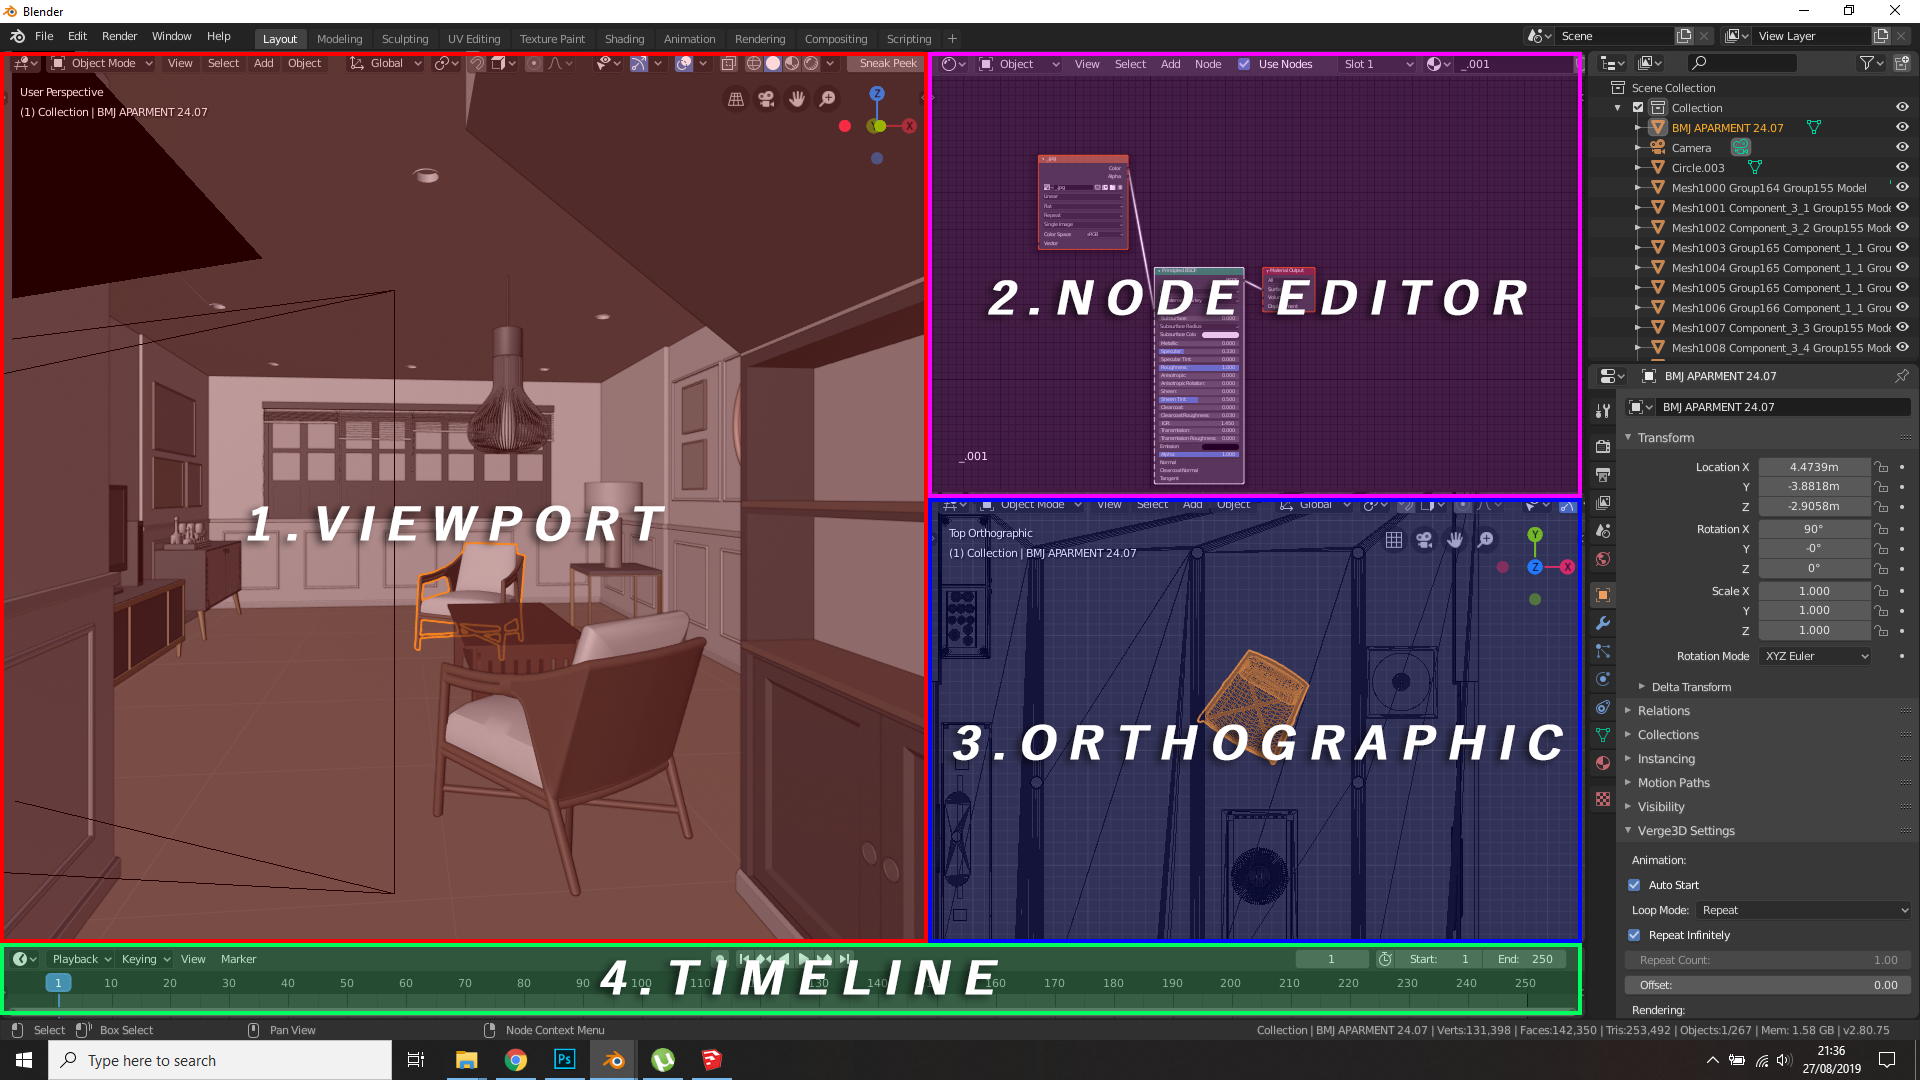
8. After the import is successful, I always make my work layout like this because it’s the most handy layout I’ve ever used, in my opinion (this is not mandatory).
Cameras

9. Before setting up your camera, know your overall intention. The purpose of this render is client presentation, so the owner of the house needs to know what the room will look like comprehensively (you must show the relationship between objects).
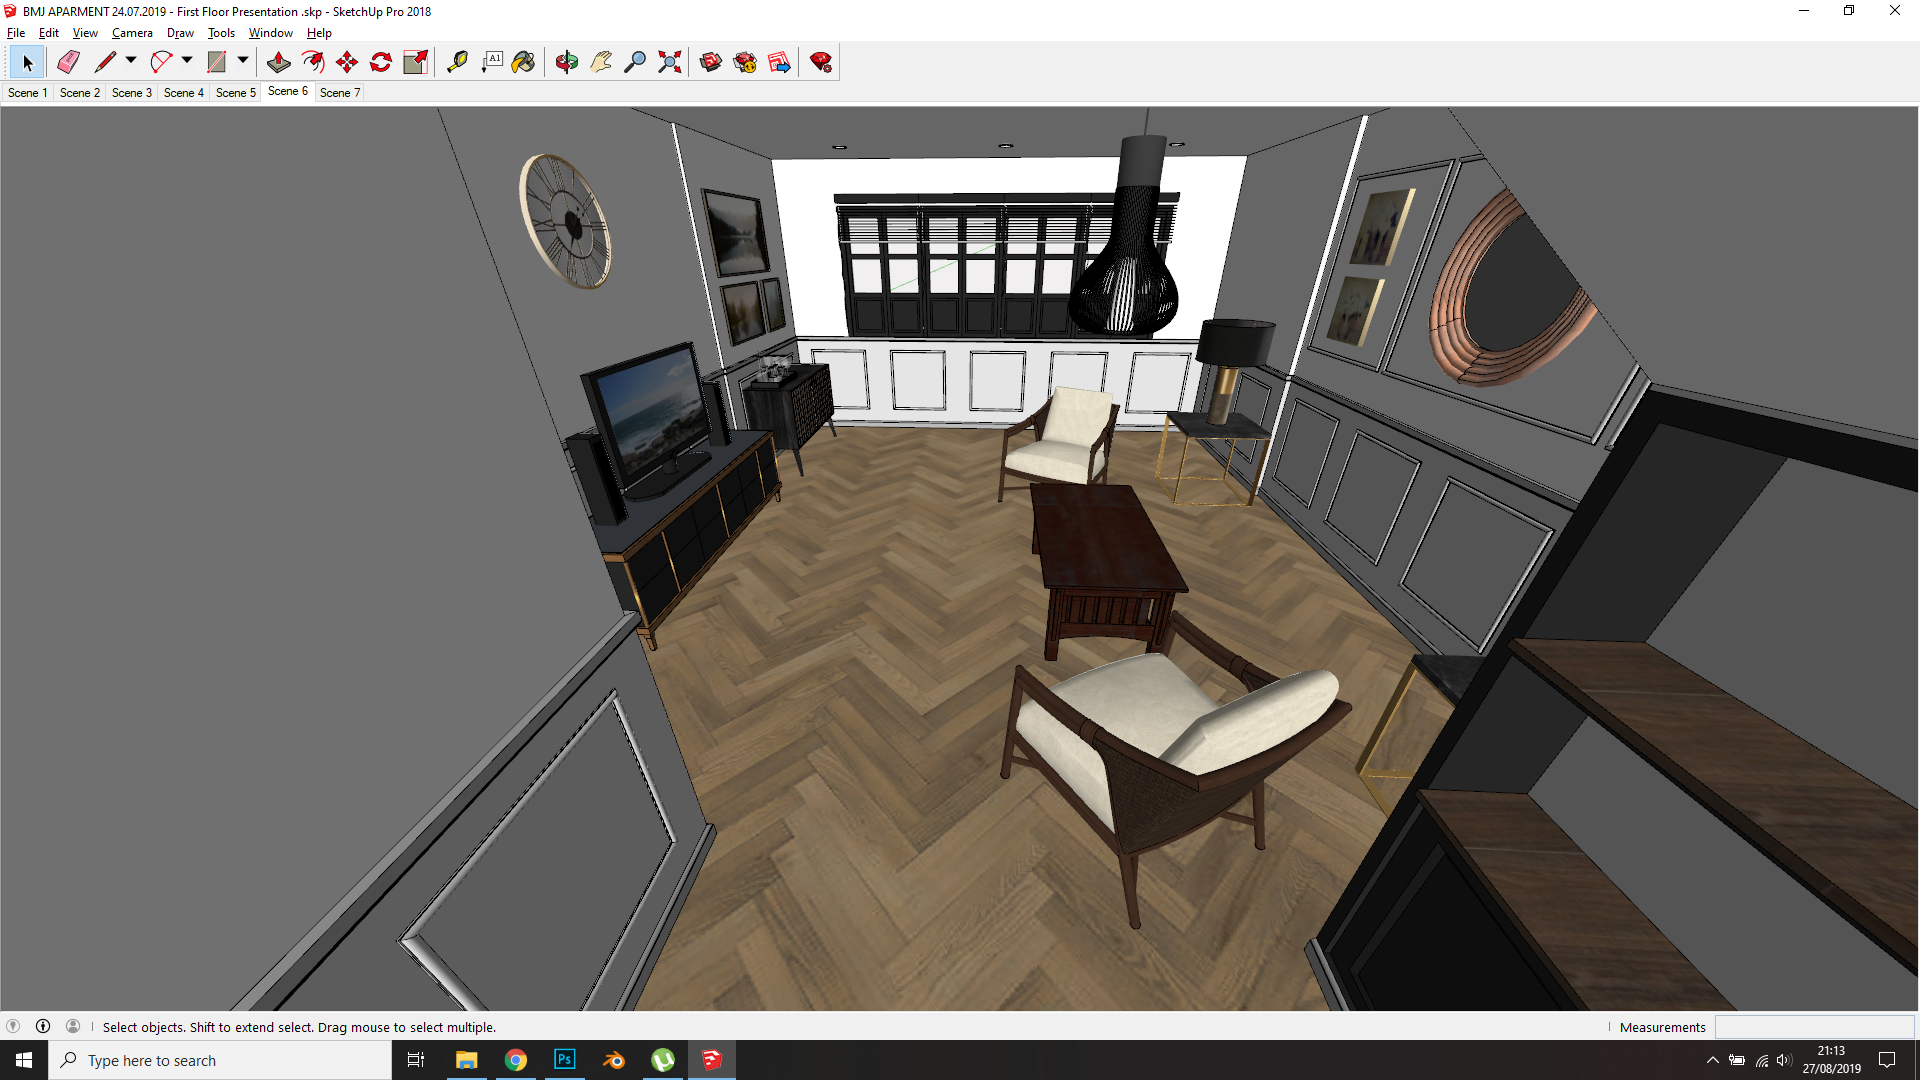
So I think the two-point perspective from the corner of the room is the most suitable angle in this case. You can see from the image above how this scene shows almost every element in the living room without detracting from anything.
I cheated a bit by putting the camera behind the wall, but thanks to the clipping camera feature, a small room like this can look bigger in the rendering.
Lighting

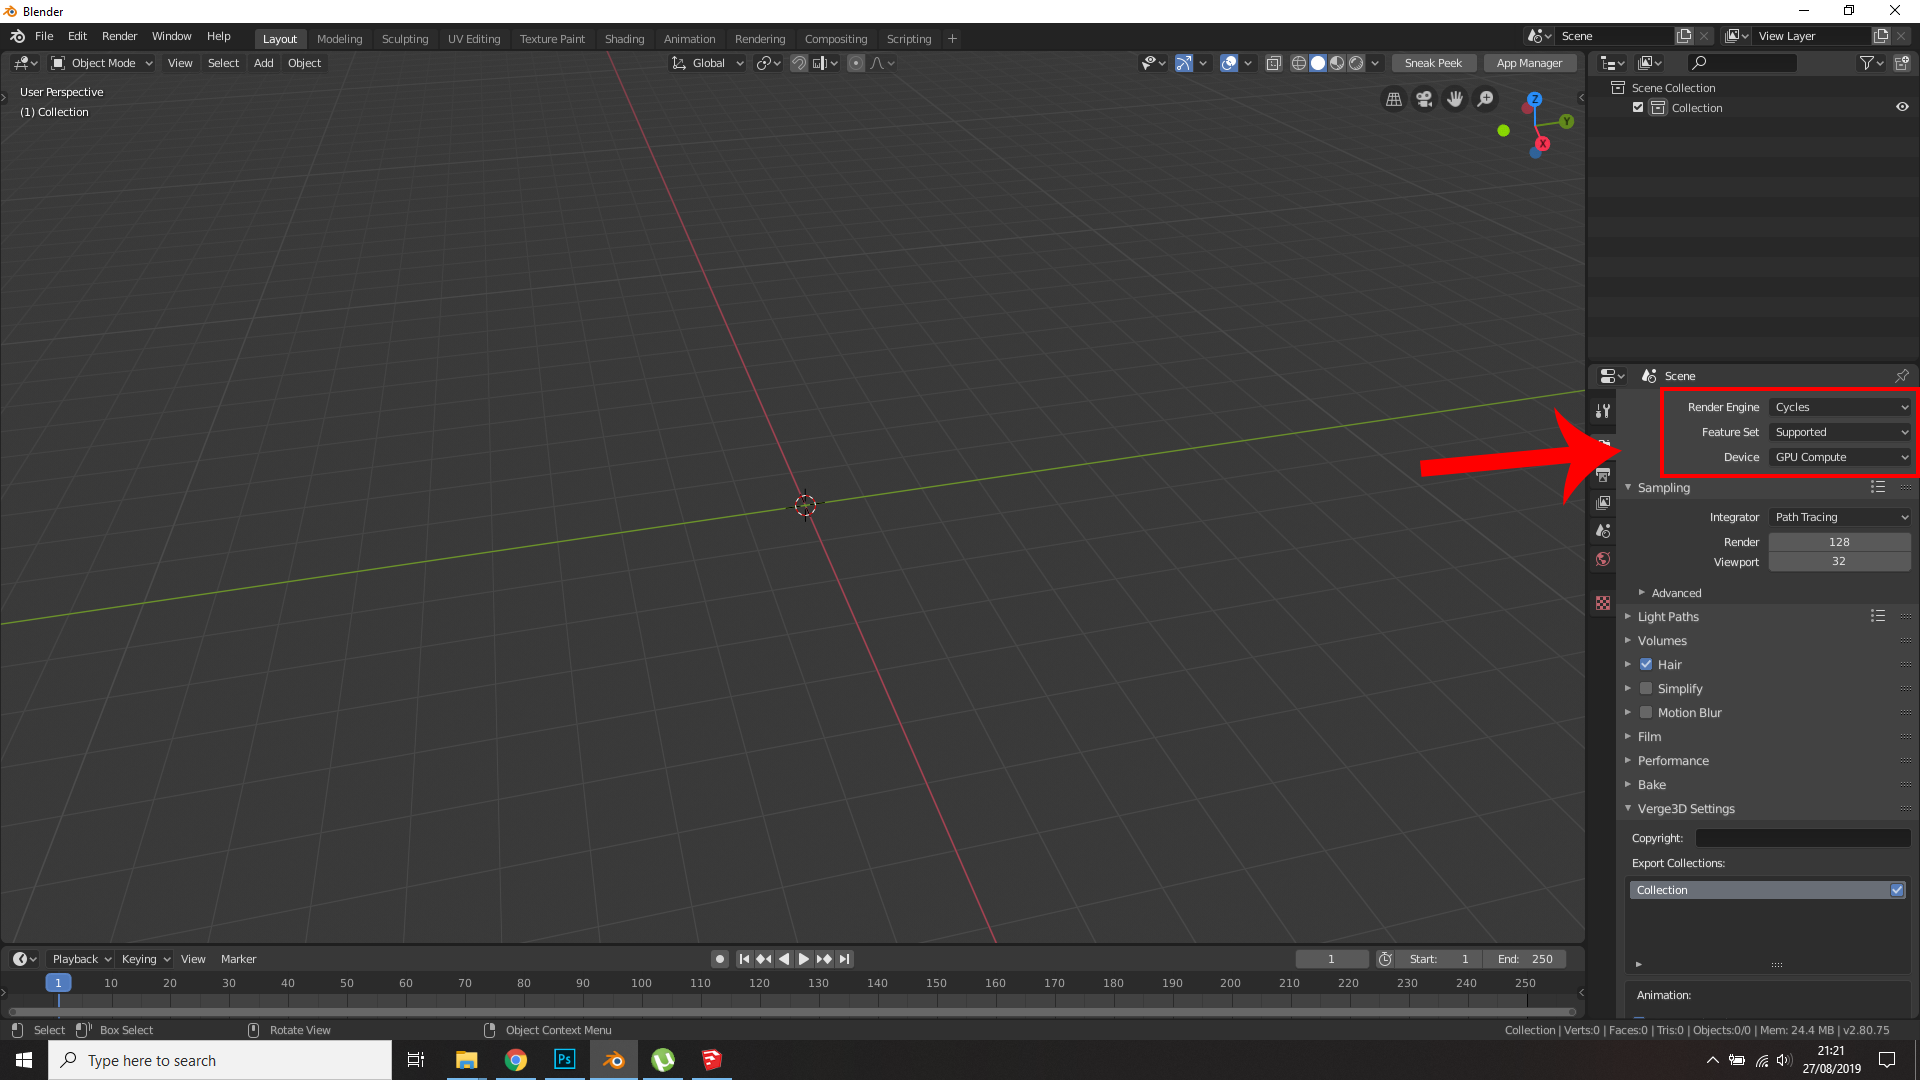
10. If you tried to render for now, the scene would still be dark because there’s no light source.
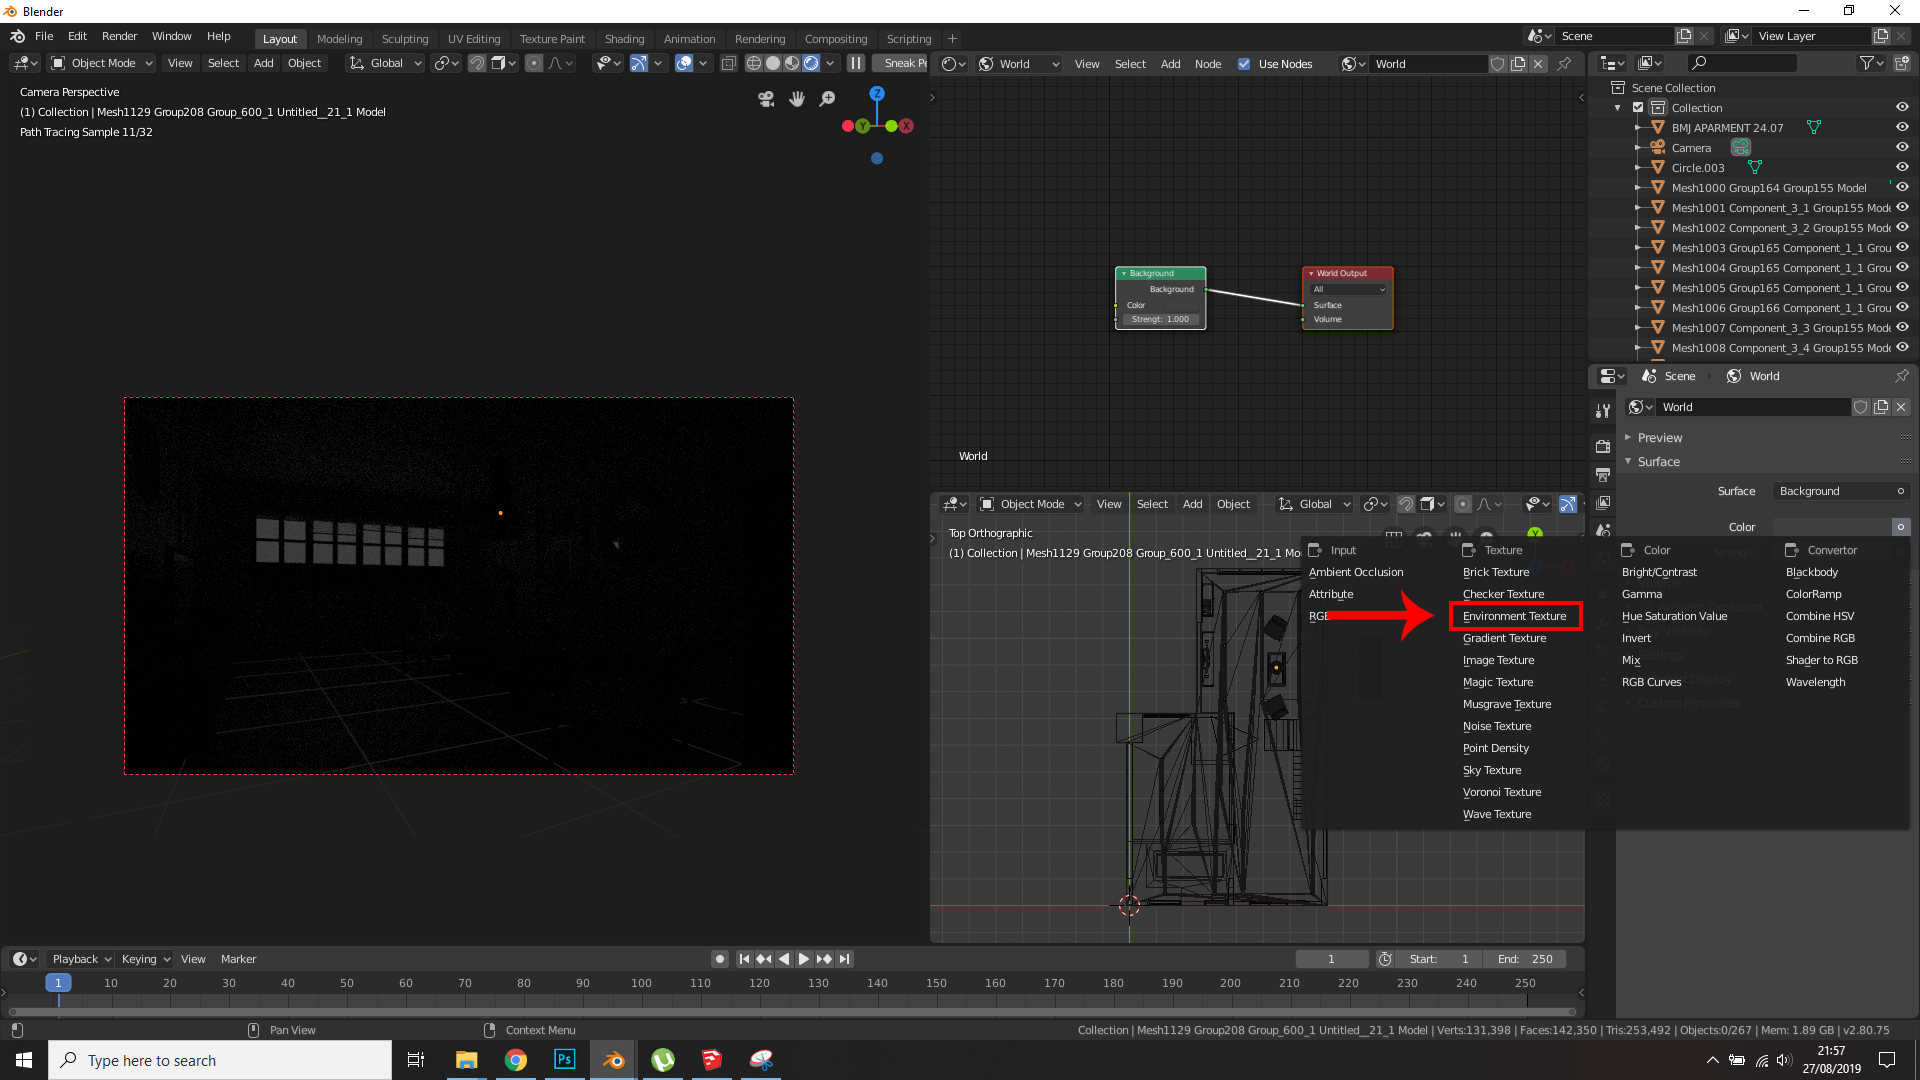
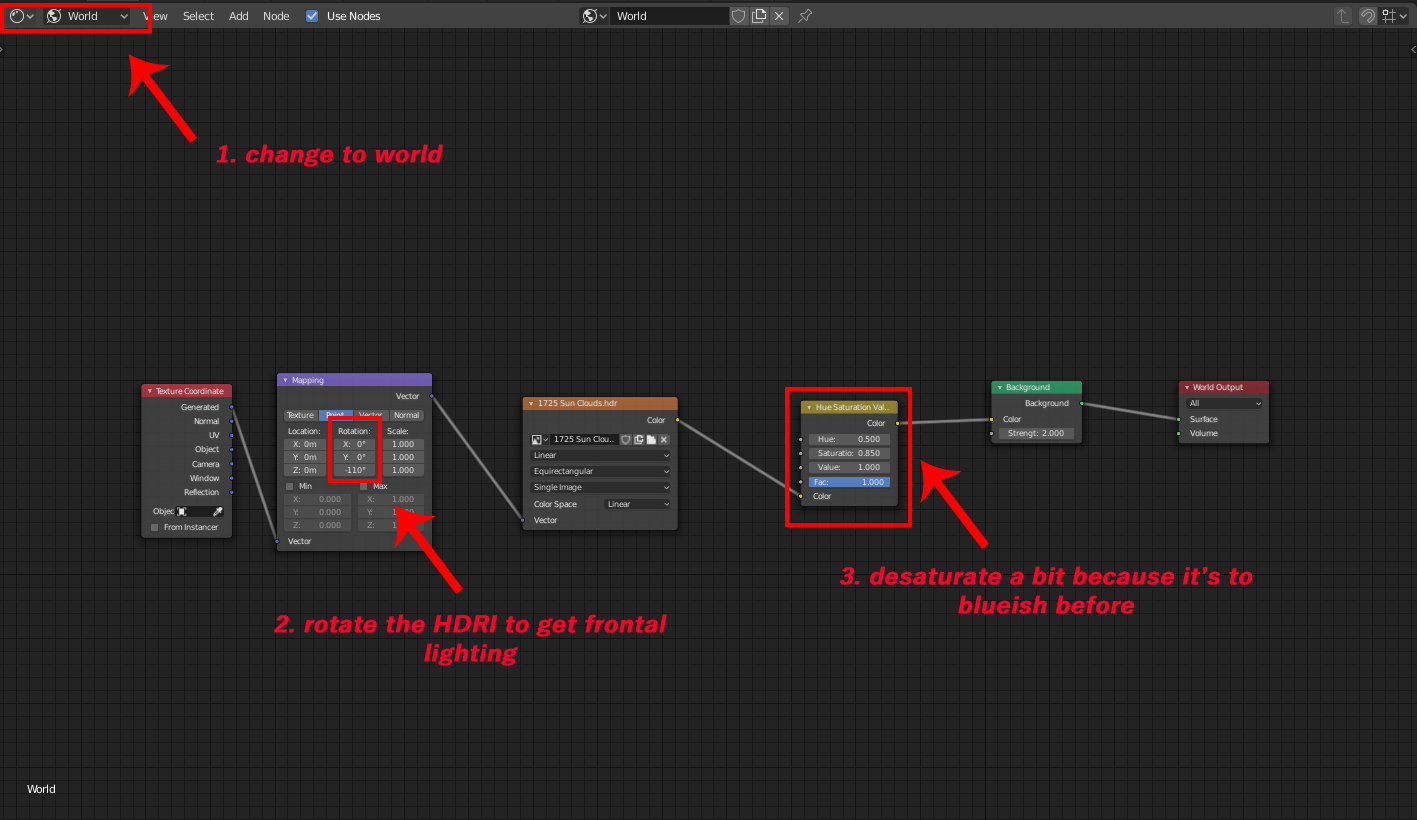
I use an HDRI from Peter Guthrie as the main light source in this scene.
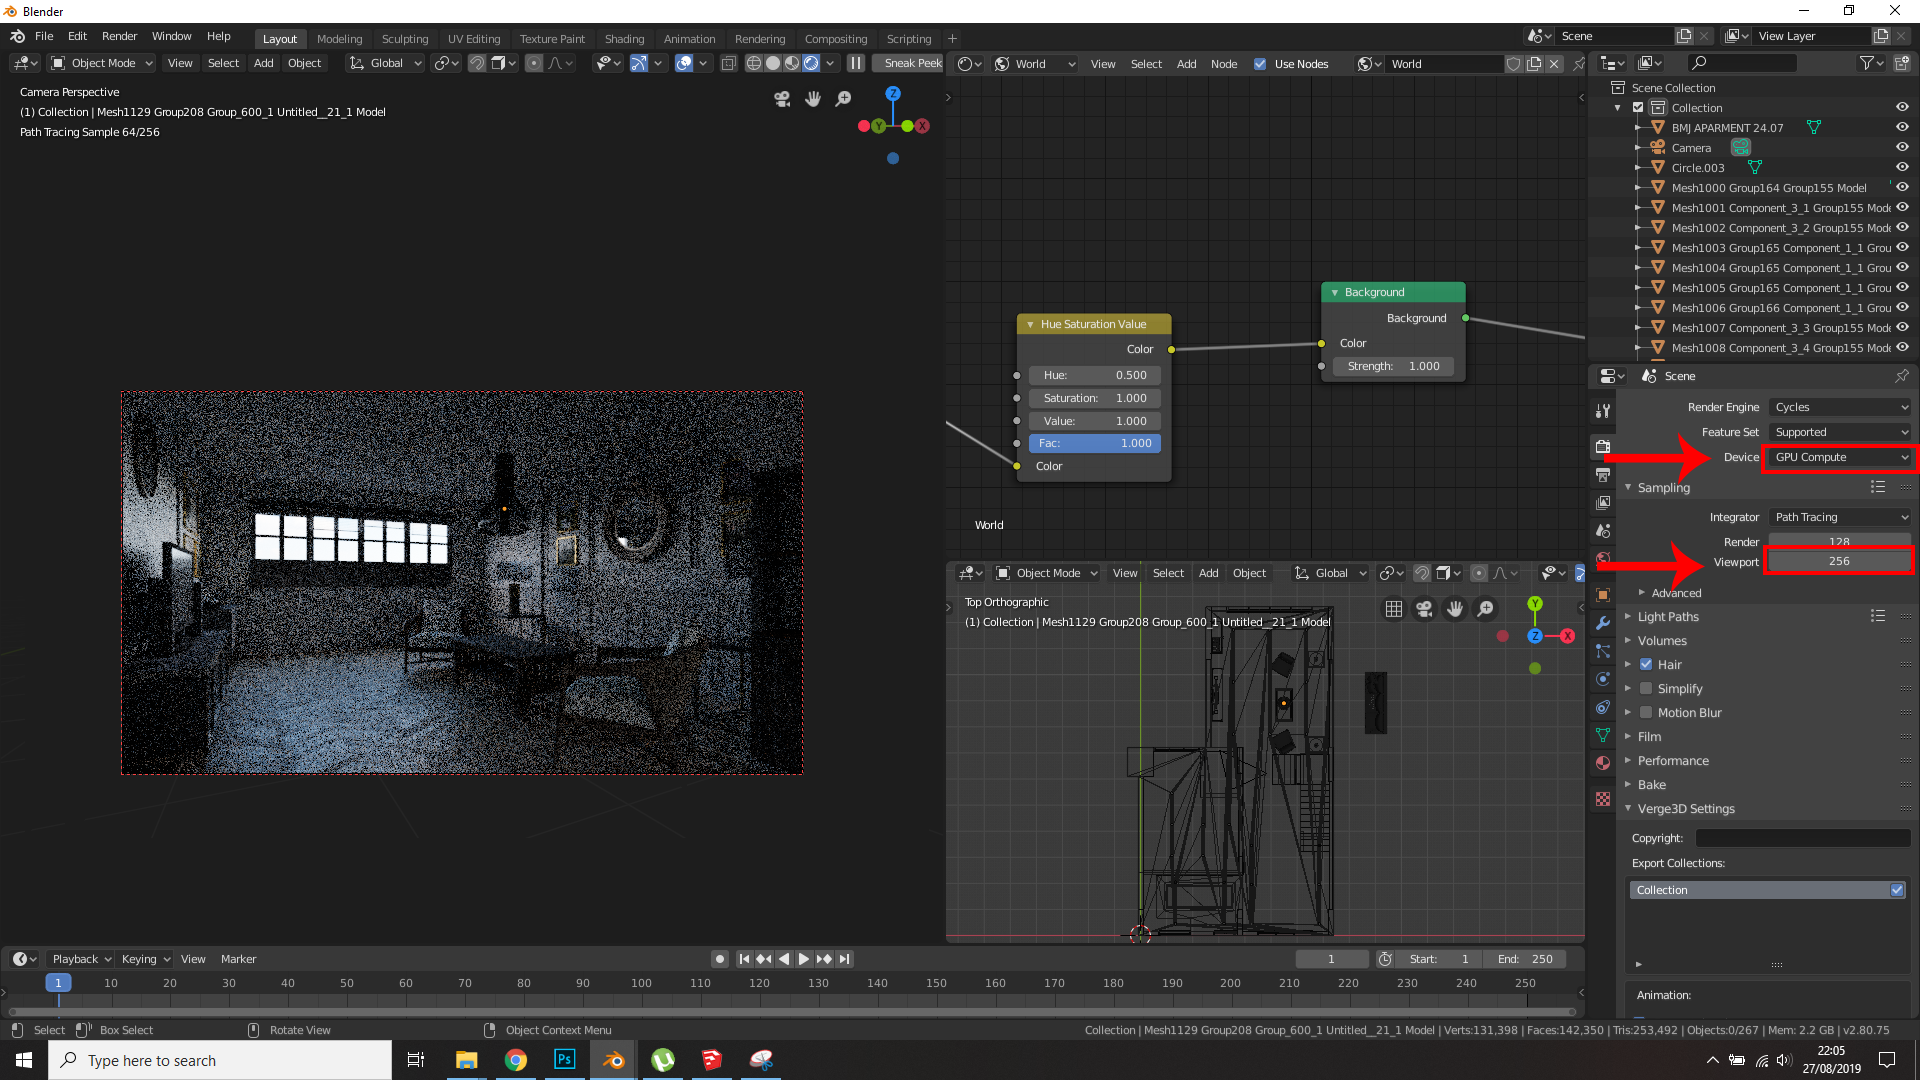
11. At this point you know your scene lit up pretty well. You can use region render using Ctrl+B, and I advise you to use GPU Compute if you are an NVDIA user, and add more samples in the viewport renderer.
As far as I know, there’s no blue lighting when it’s early morning; it makes the scene look unrealistic so I tried to gather some references.


12. Using my personal preferences, I got the reference from Behance. I wanted to add the ambiance like this. So I tried to mimic the ambience of the reference photos which have:
- Almost white-yellowish lighting in the highlights (assume it is very desaturated)
- Almost no bluish shadows (assume it is very desaturated)
- Frontal lighting from the window
After I breakdown the points, I do the exact same thing to my Render Scene.
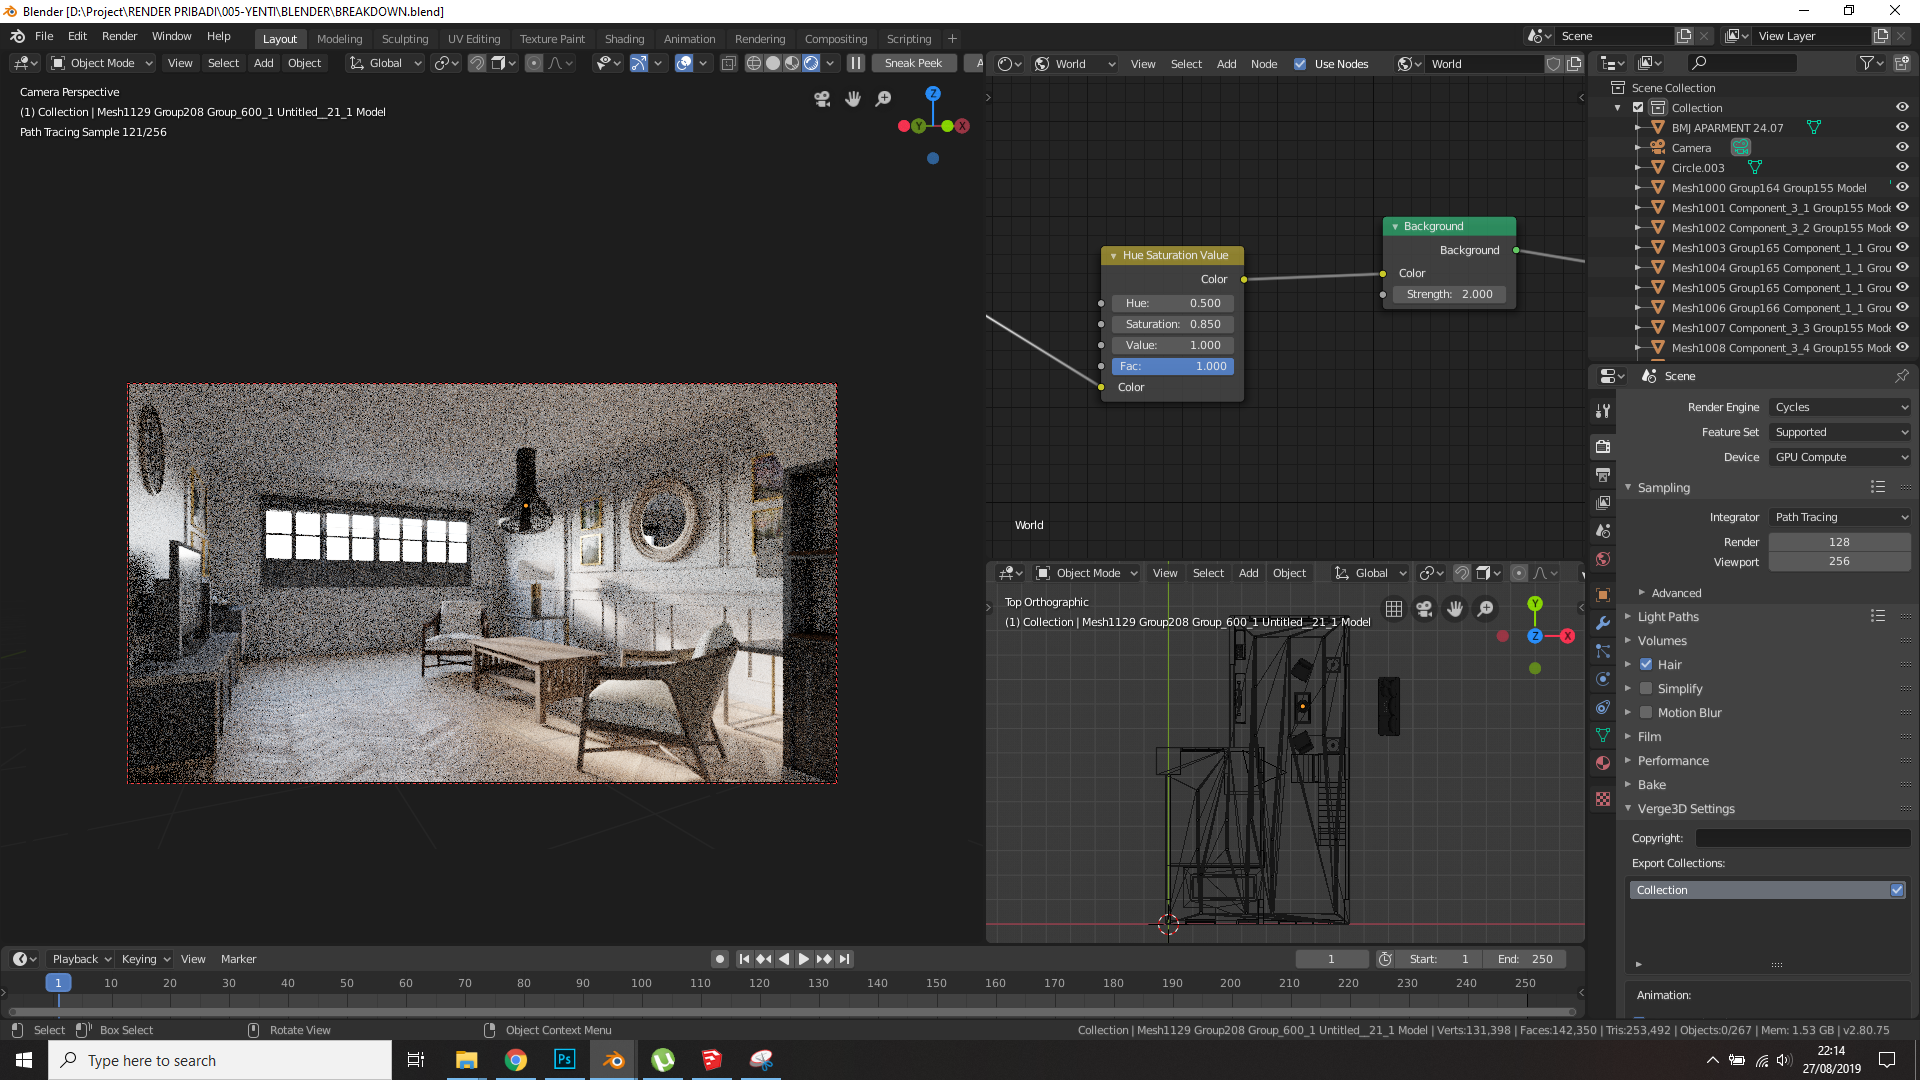
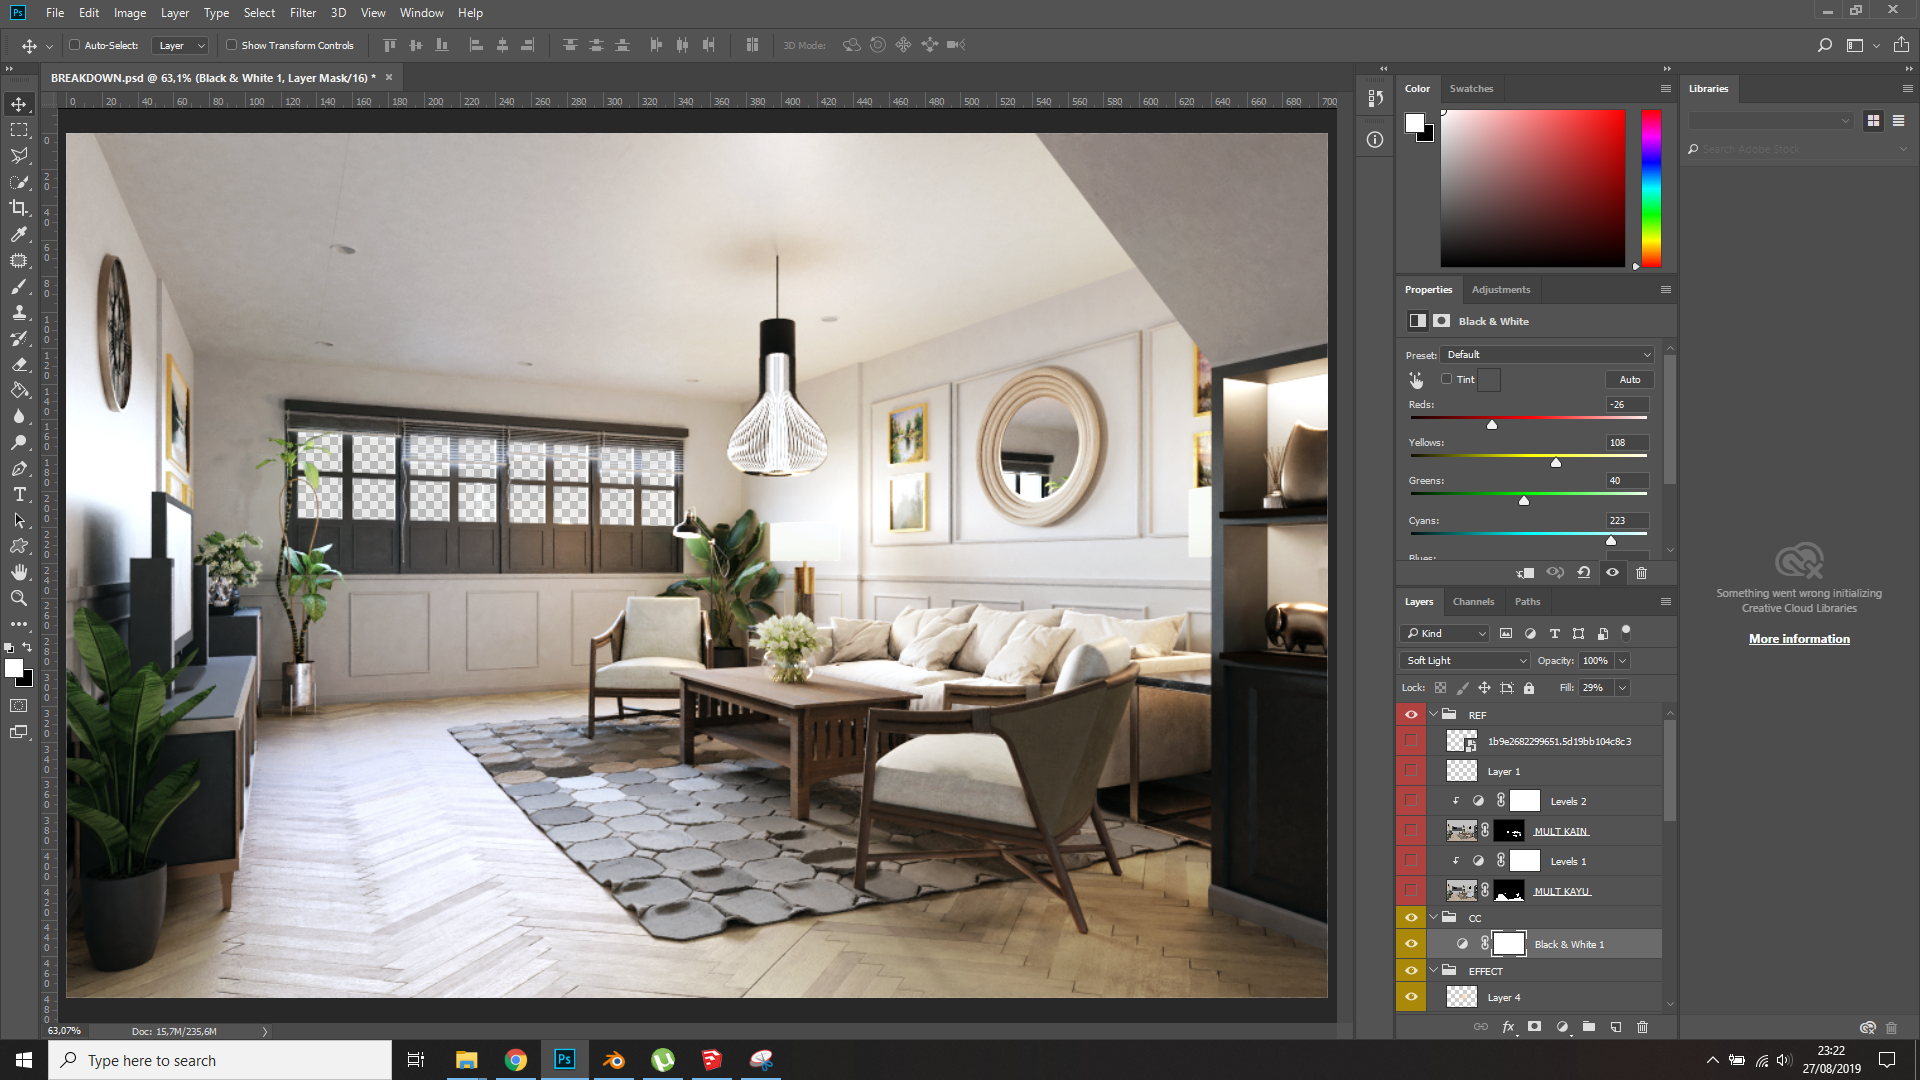
13. So I mimic the same mood for the reference by checking every point that I’ve breakdown from the references. At this point I like the overall lighting and we can move on to the material editor.
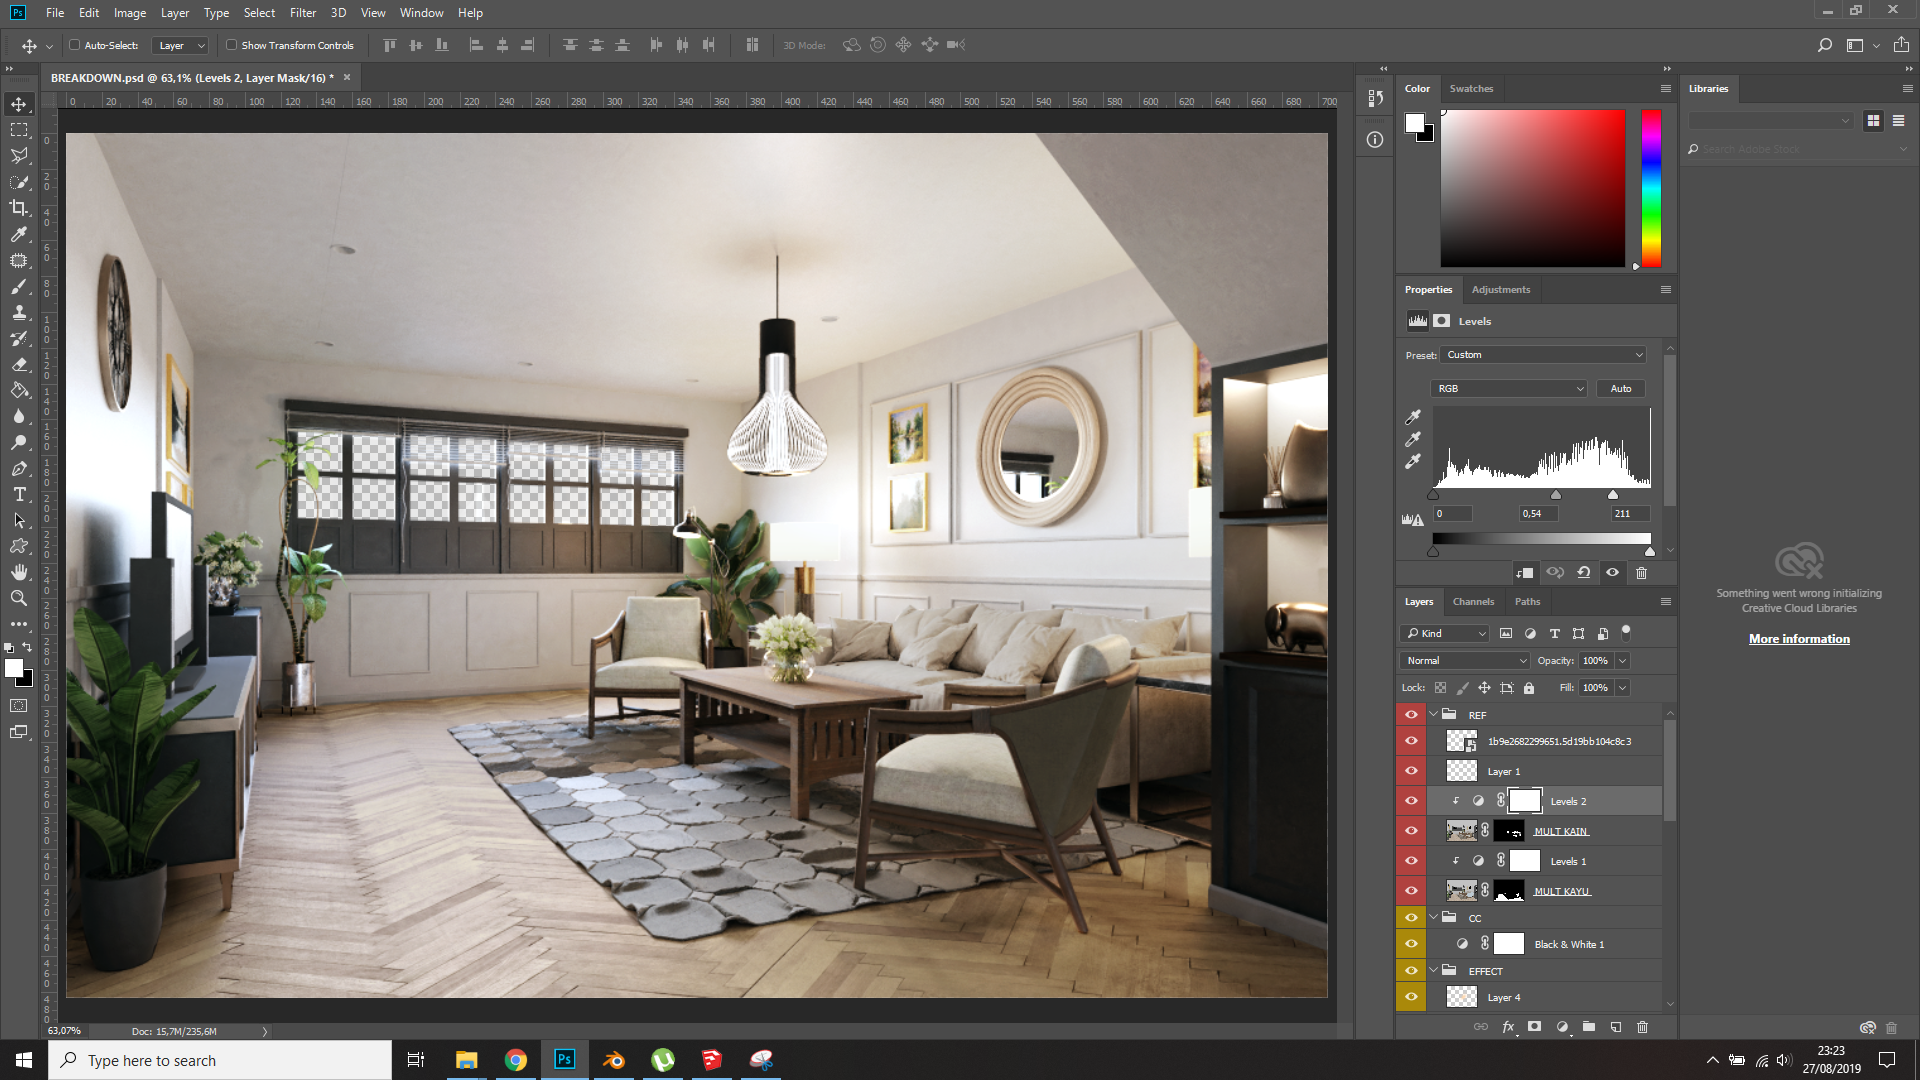
Materials

14. If you check the material that you’ve imported to the scene using OBJ format, it will look like this. The only important thing is the texture, so don’t delete this.


15. So this is the secret to the realistic materials that I’ve used in every scene, even in every material. Don’t get confused by it; the only thing that matters is the original texture, so you just need to change the original texture and crank up the others value a bit, as needed.
Even I used all the materials in this scene with only this node.

16. Add more objects to complete your scene. For me, I used models from 3DSky model collection.
More Lighting

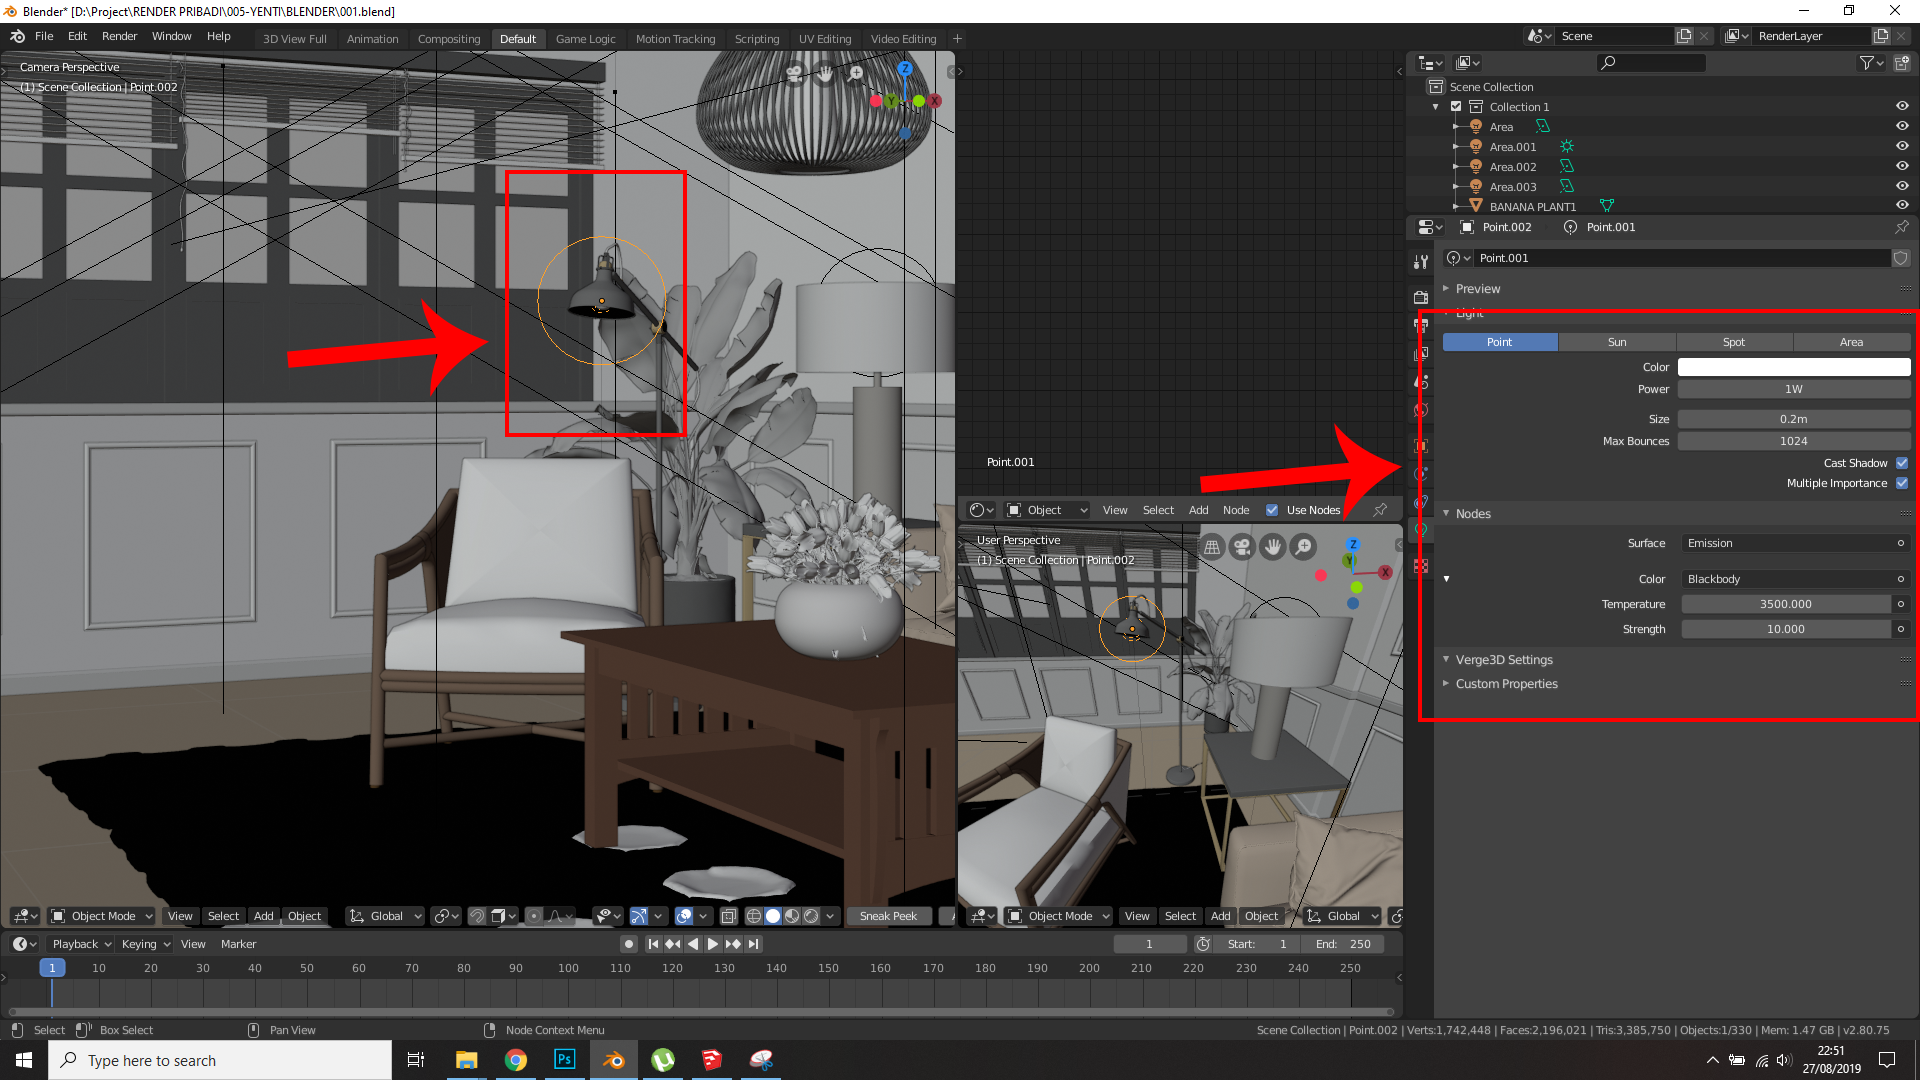
17. Add artificial lights to make the Global Illumination richer. First, I create an emission material in the chandelier tube because the scene tells us about living room design, so I think we must emphasize the armchair and sofas more in the scene because they are the main characters in a “living room”.
18. Next, I put up the floor lamp light to make a rim in the back of the farthest chair in the composition. The reason I do this is to define the layout of the design and make a point of interest at the end of the leading line composition.
19. Then I add overhead lighting with basic spotlights to enrich the GI more.

20. Finally, I use an area light behind the window to make the render faster and reduce the overall noise.
Rendering and Post-Processing in Photoshop


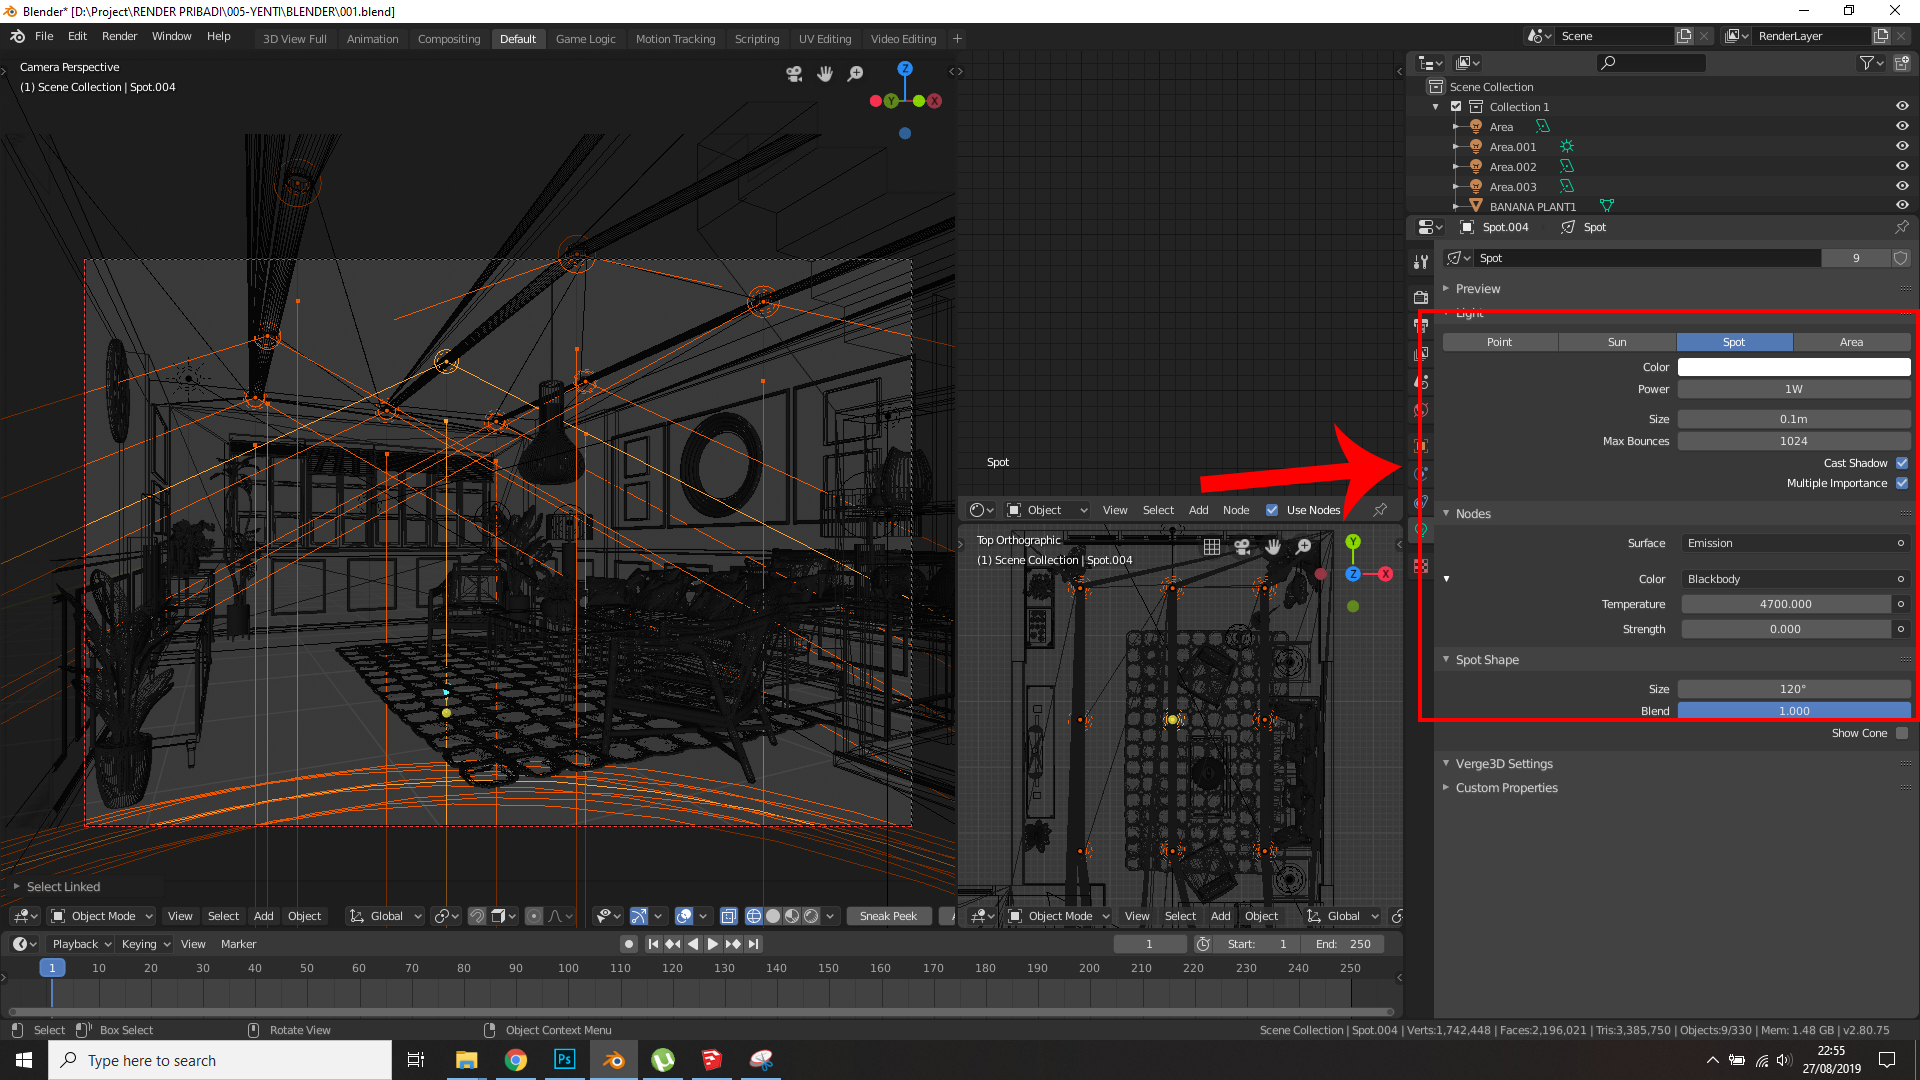
21. The scene is set, so let’s move on to the render settings. The most important parts are highlighted by the red rectangle.
That was the end of the RAW rendering part in Blender. You must save every render pass so that they can be used in Photoshop or some other post-processing program later on.
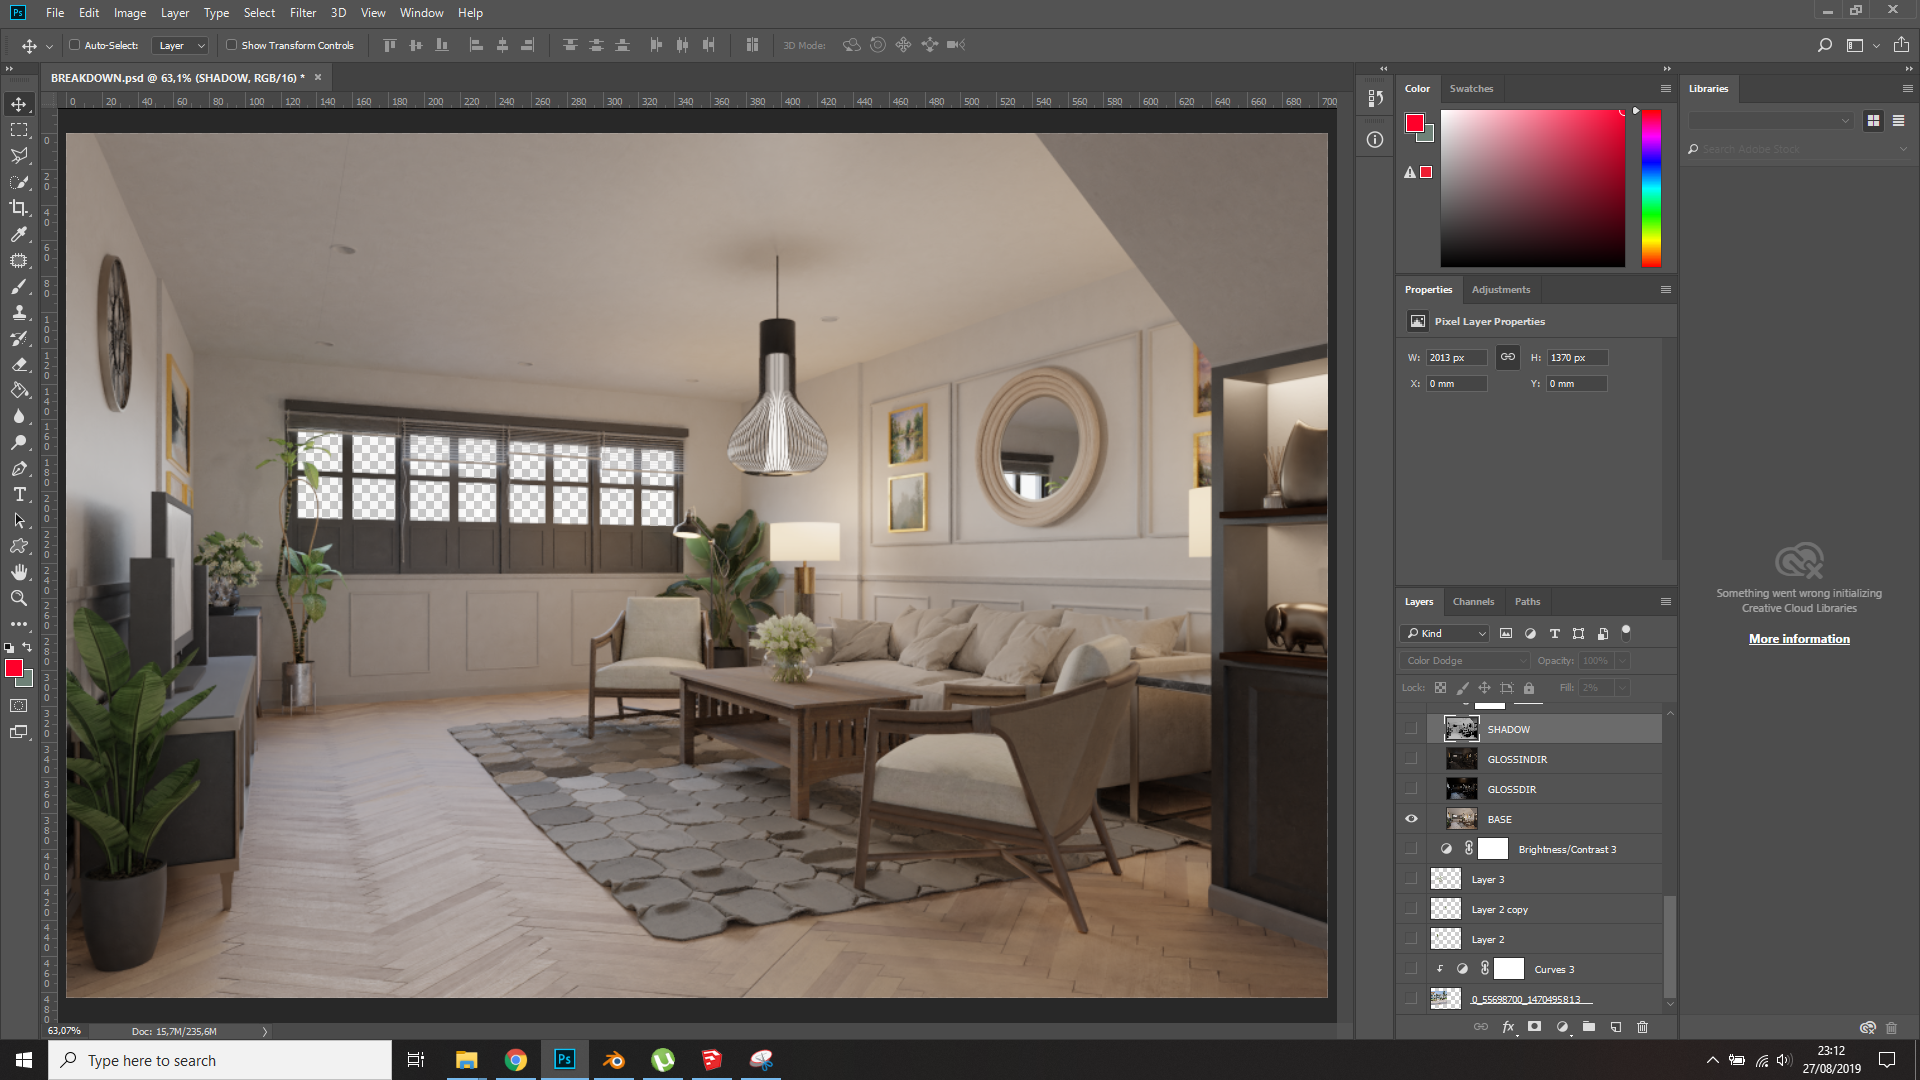
22. For this part, I used Photoshop as my post-production tool. The next step is to import every image pass that you’ve saved and you will arrive at a starting point like the image above.

23. I’m using glossy direct pass to enhance my reflection in the interesting area.
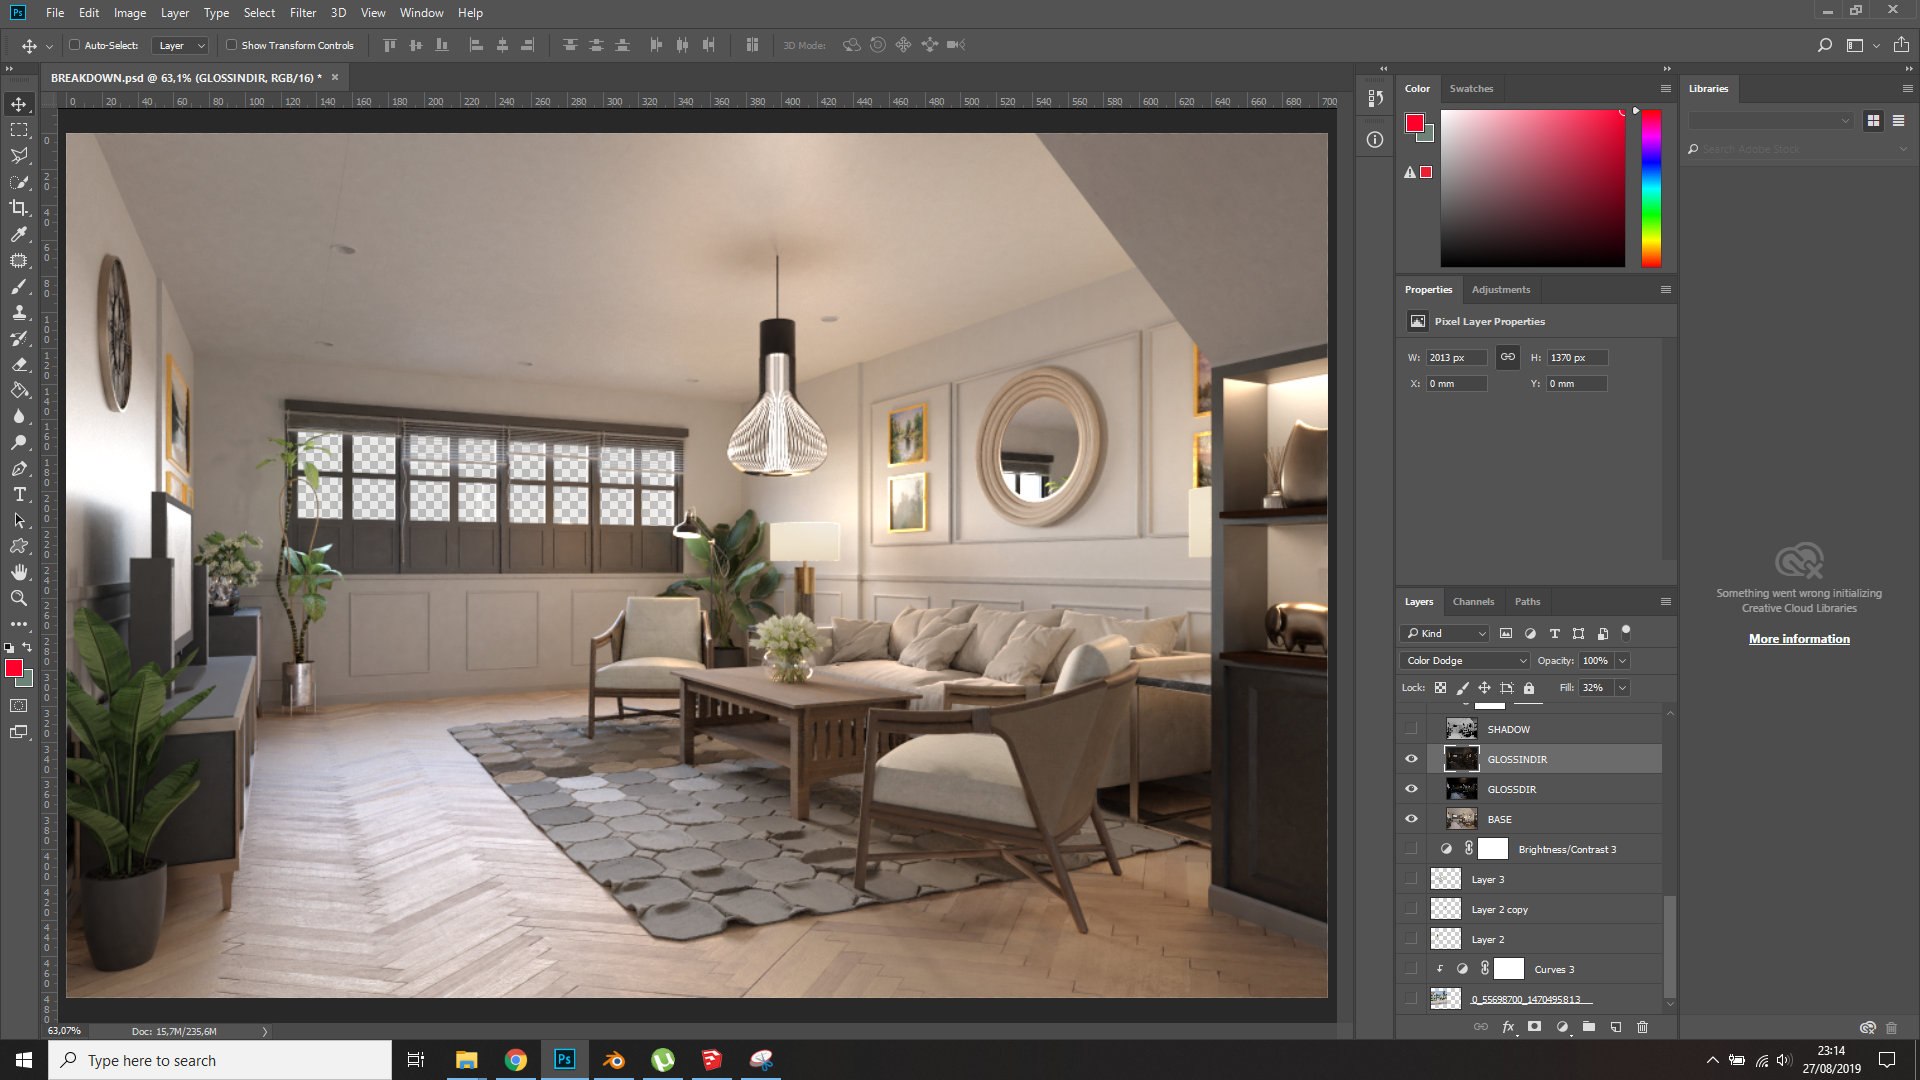
23. Then using glossy indirect pass to broaden the GI a bit.

24. Shadow pass to contrast the shadows a bit.
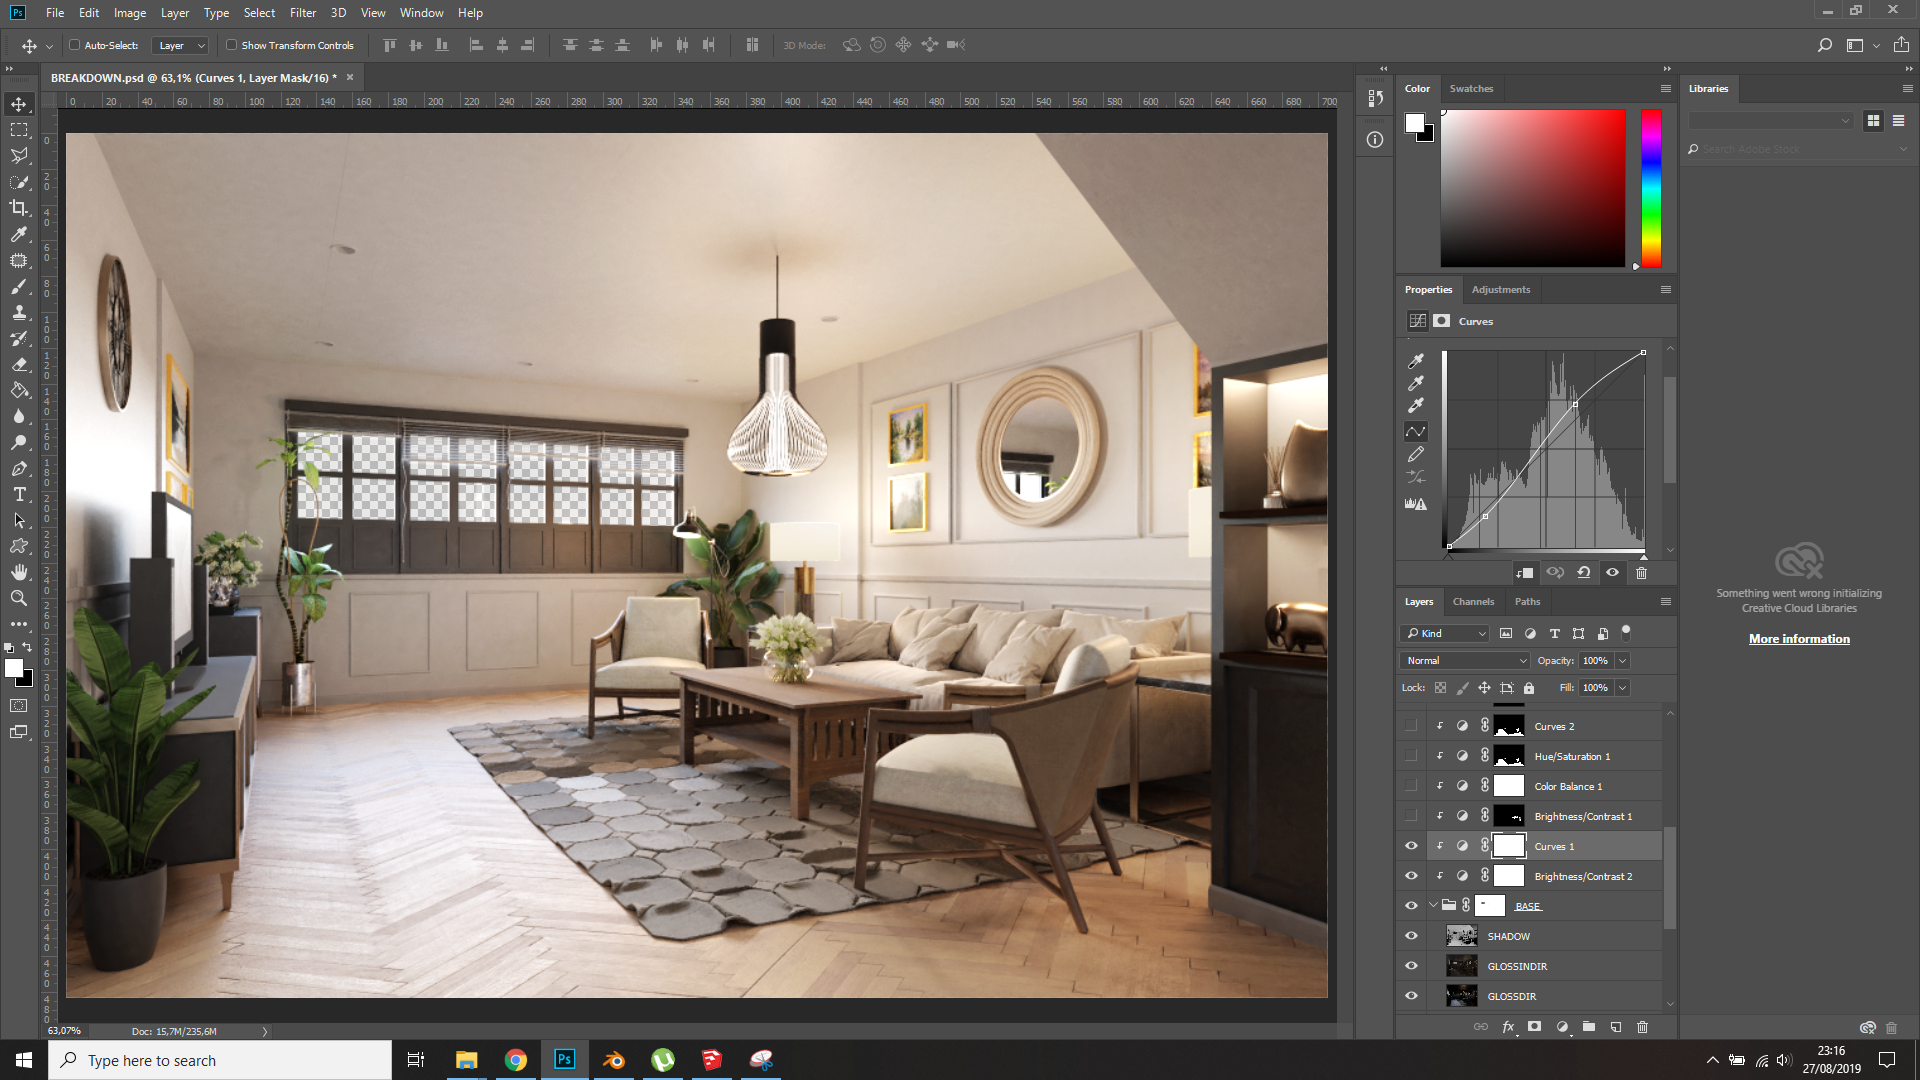
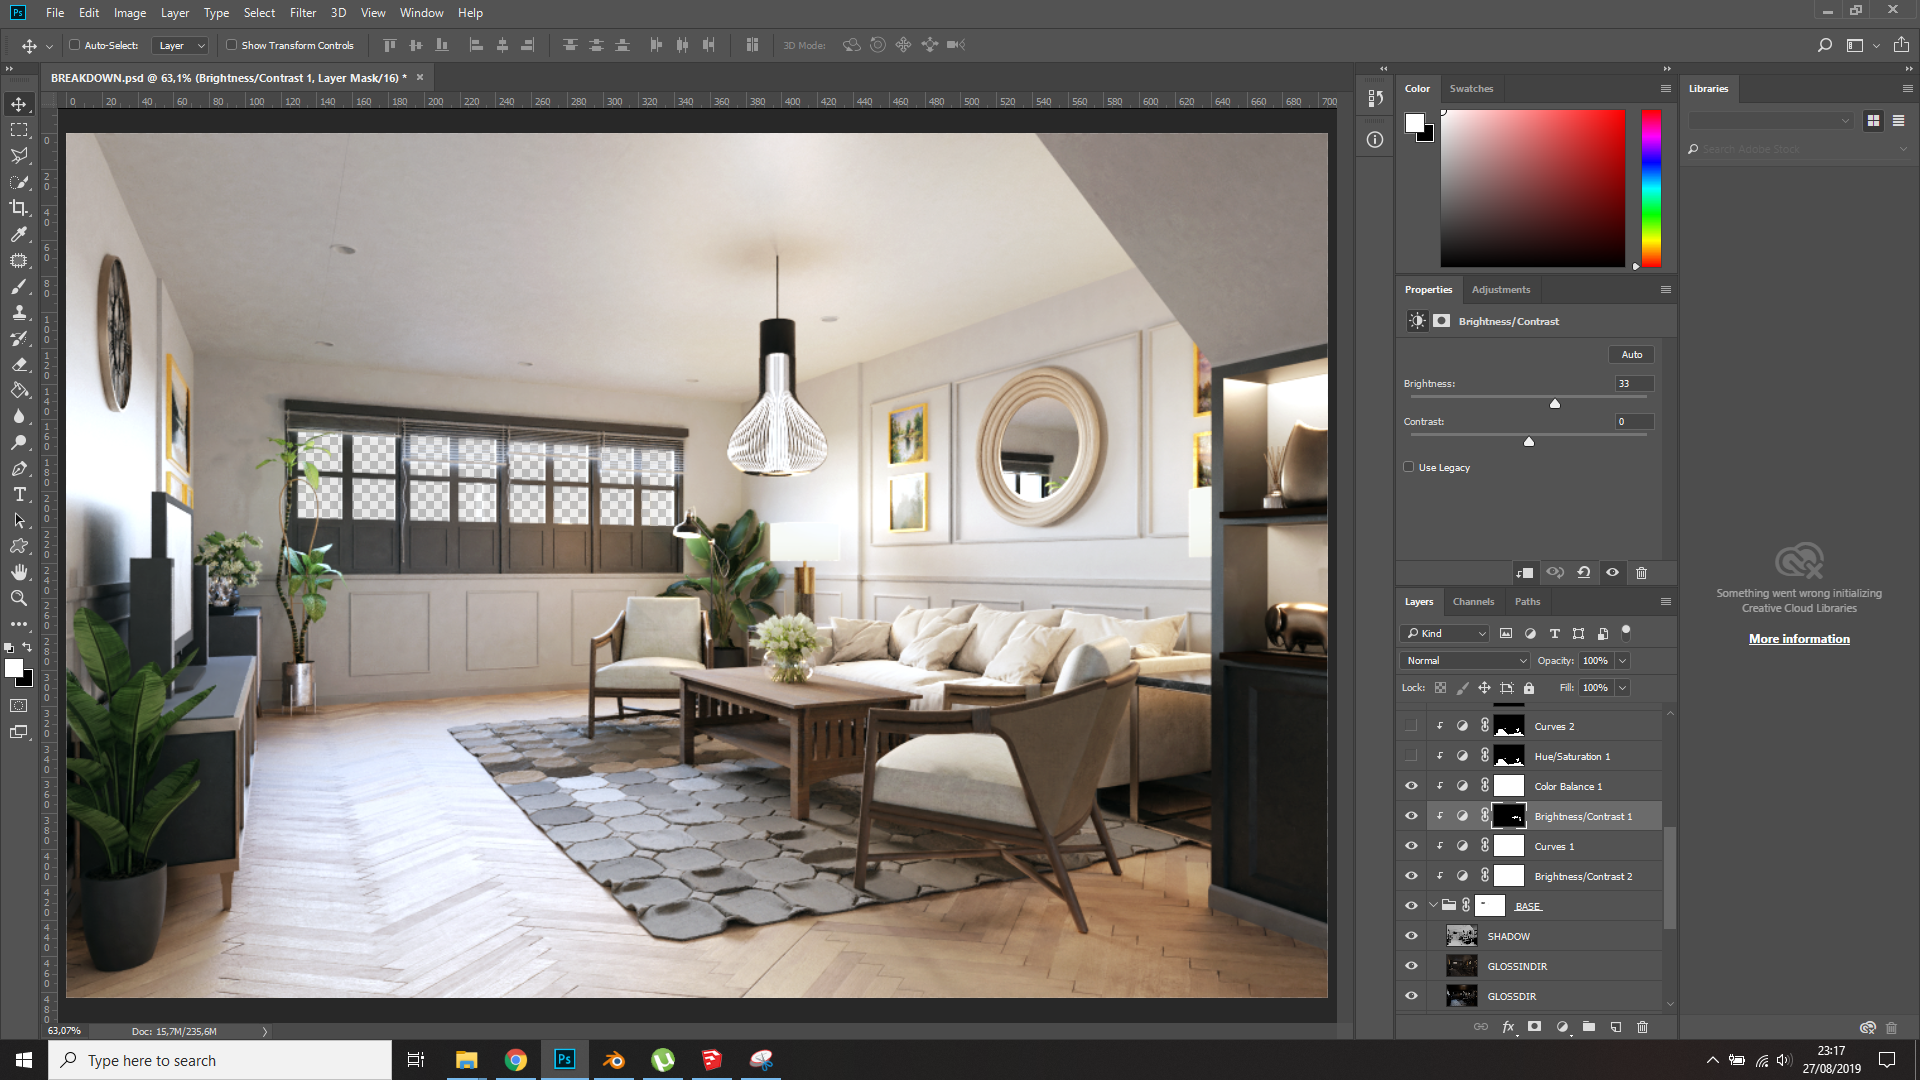
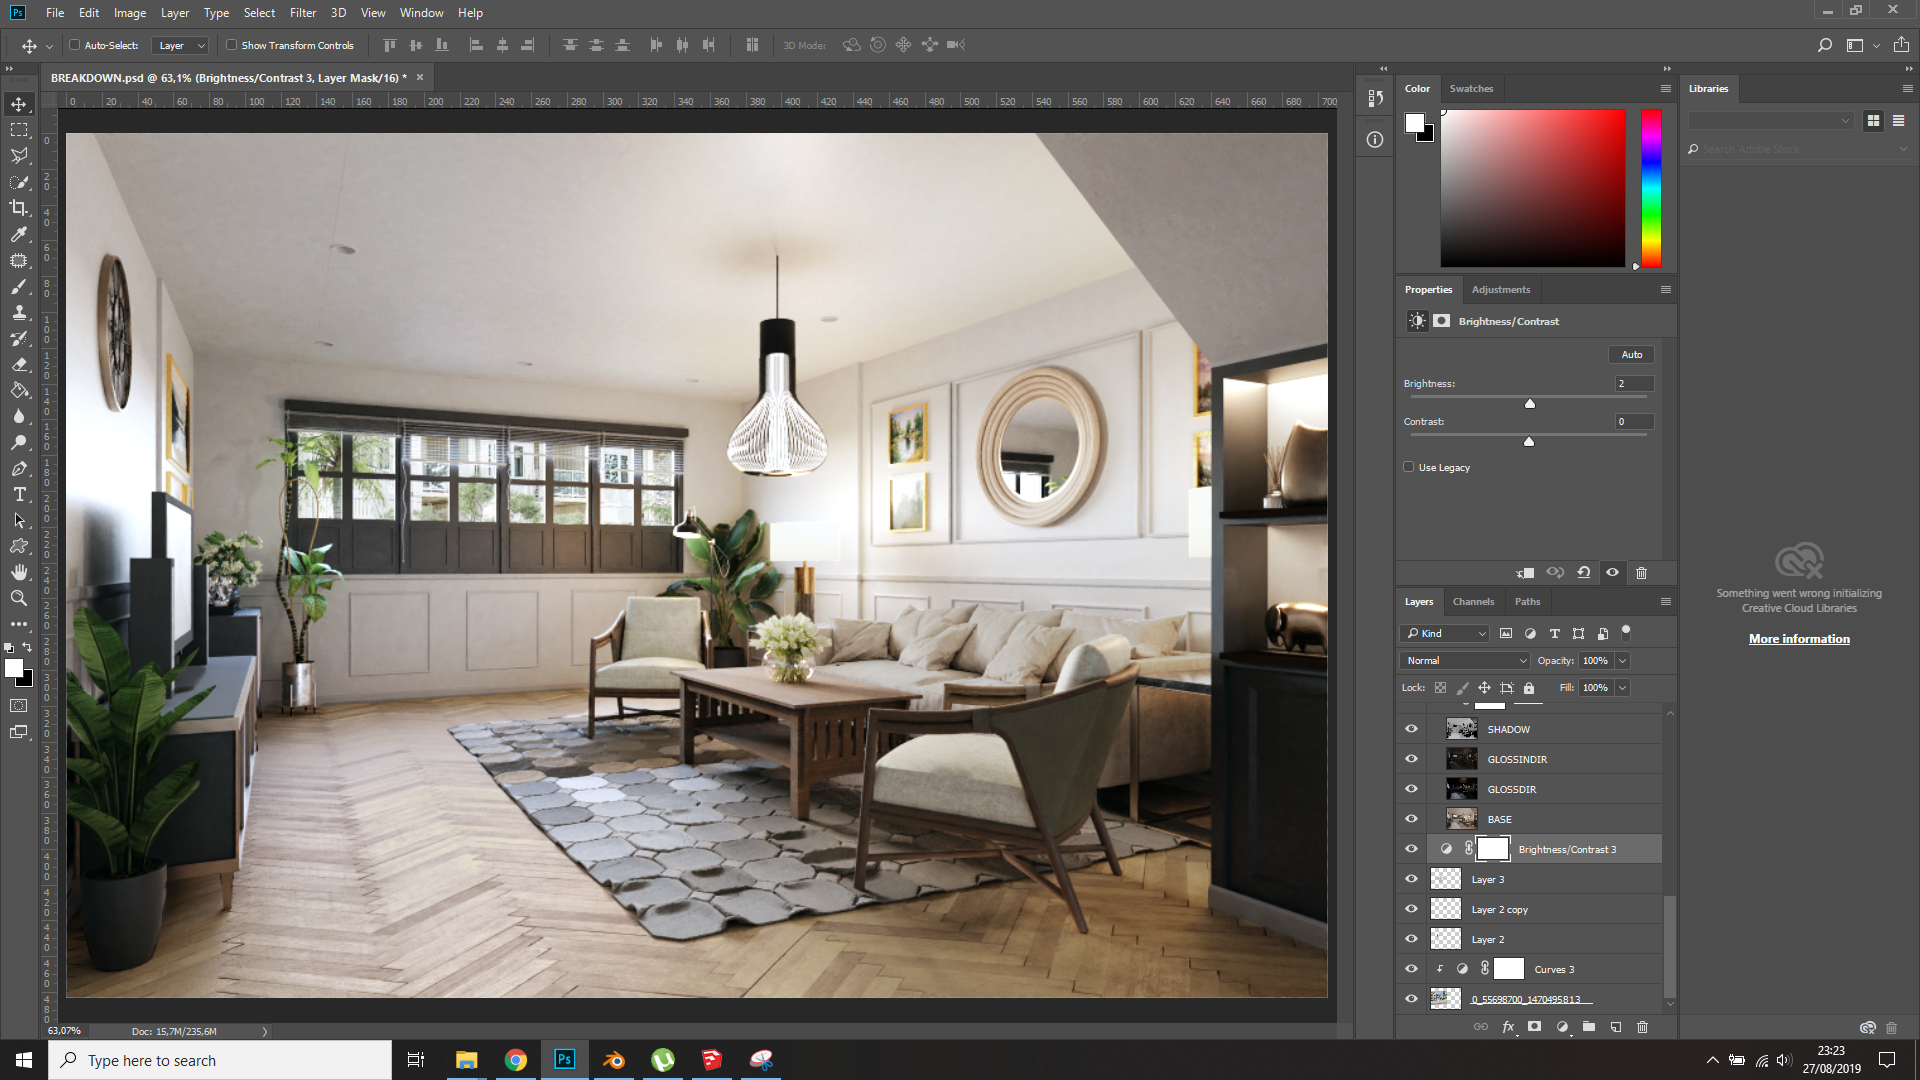
25. Add more contrast.
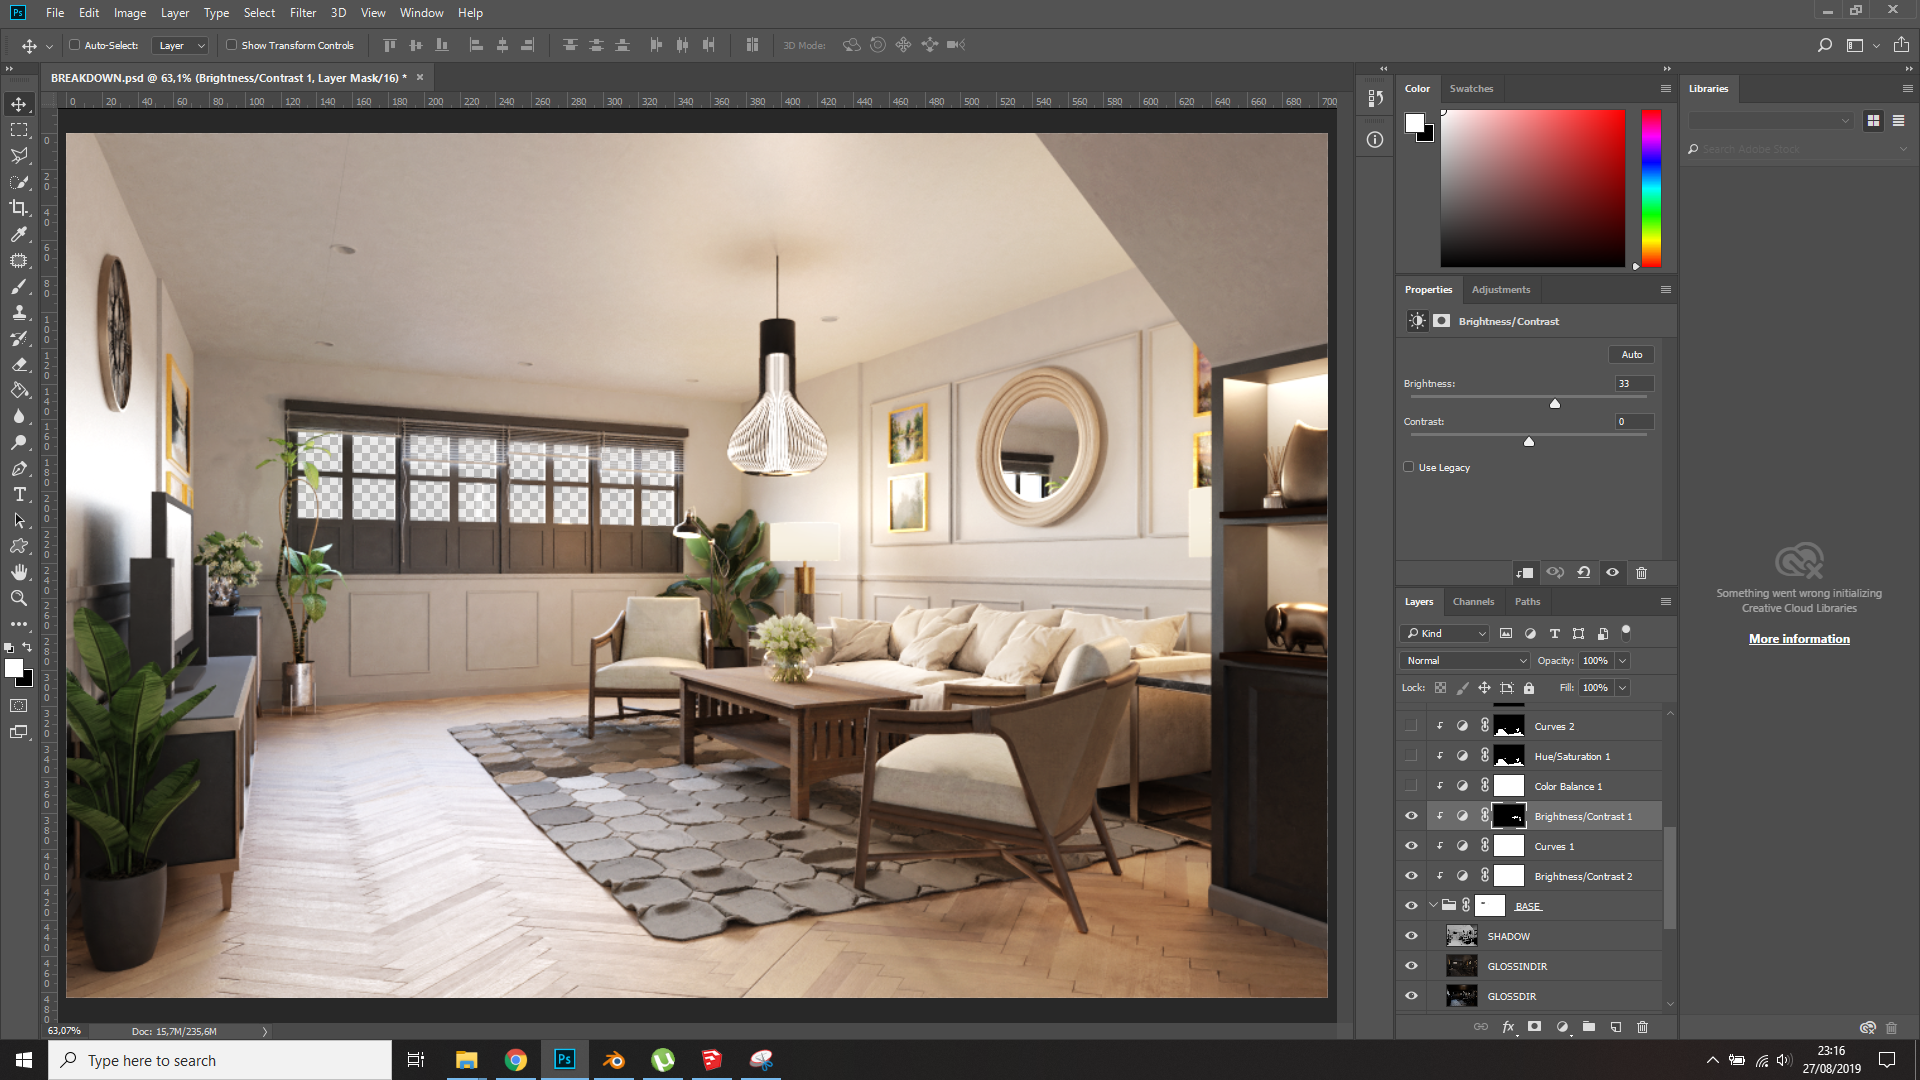
26. Add value to the sofa (the main character of the living room).
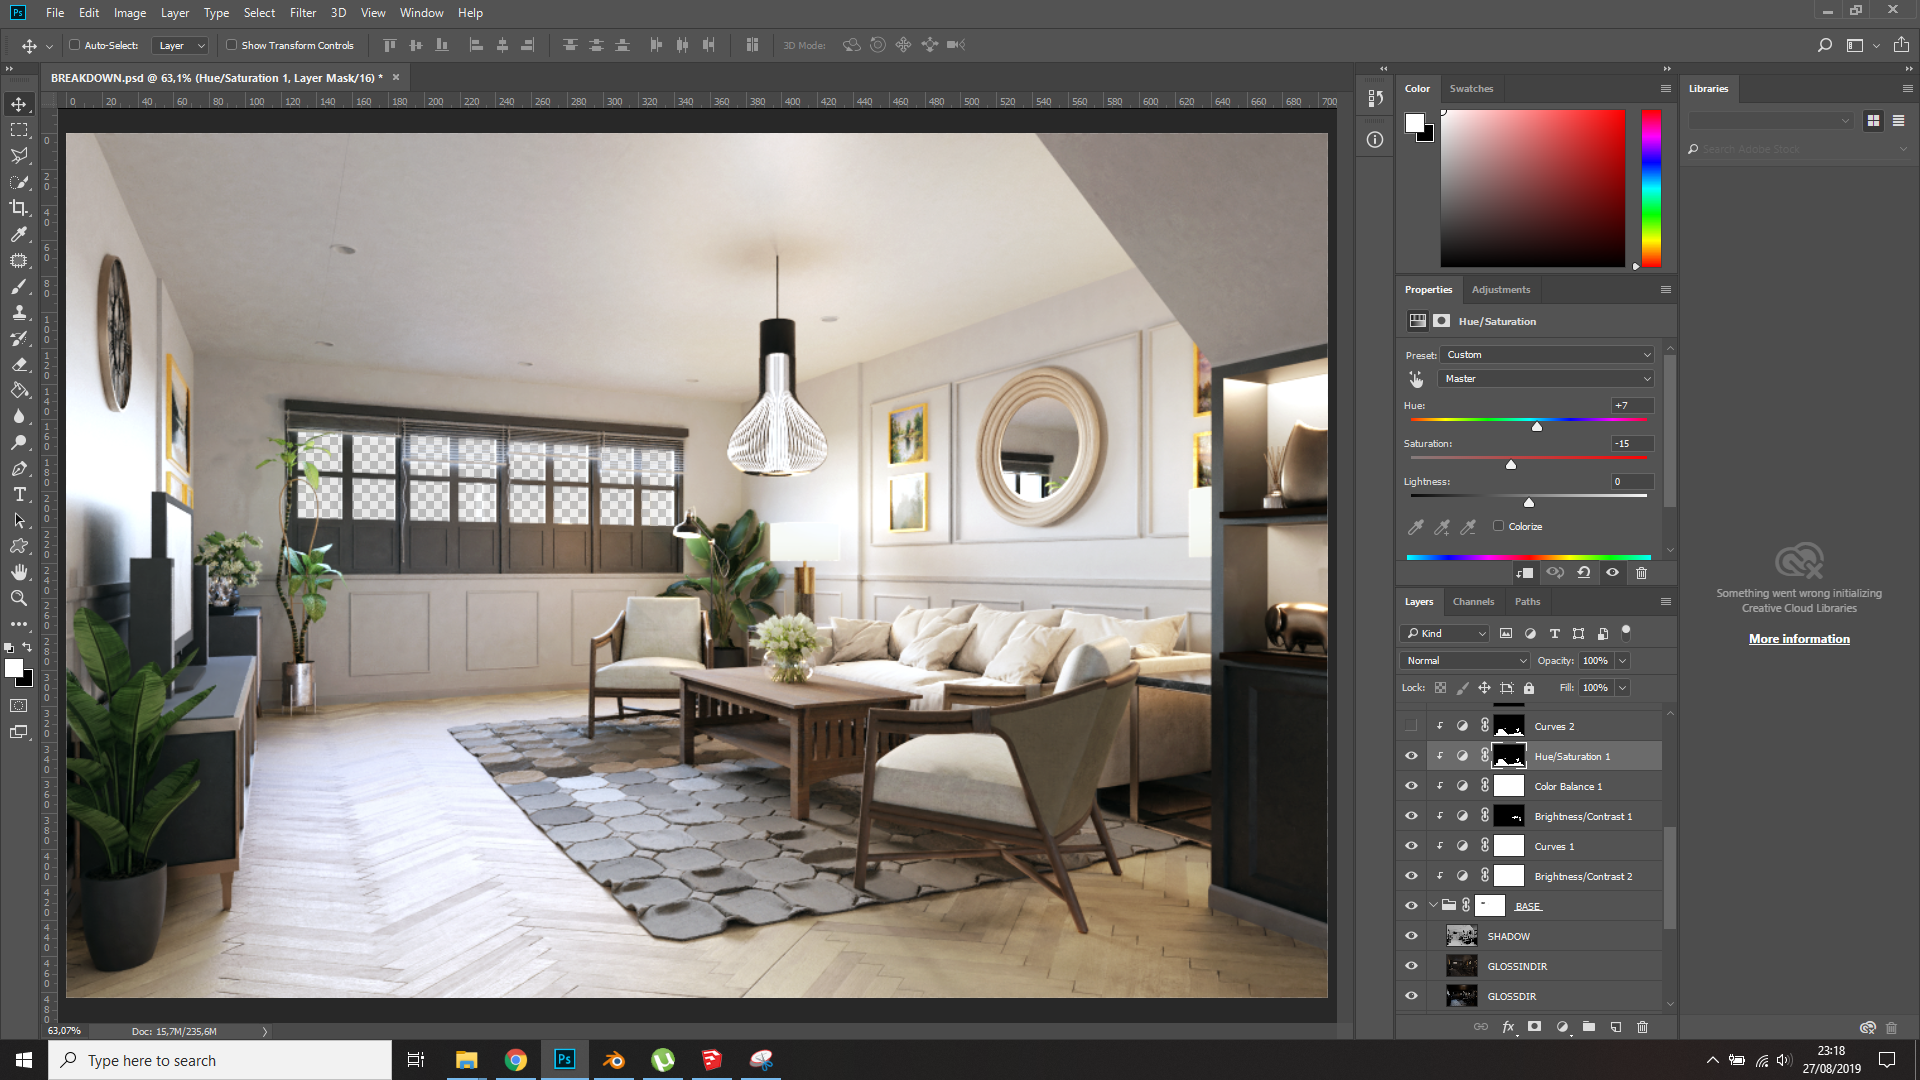
27. At this stage I think the mood is too warm, but if you remember the reference from Behance, the overall highlight has a cyanic/bluish color, so I color balance it.
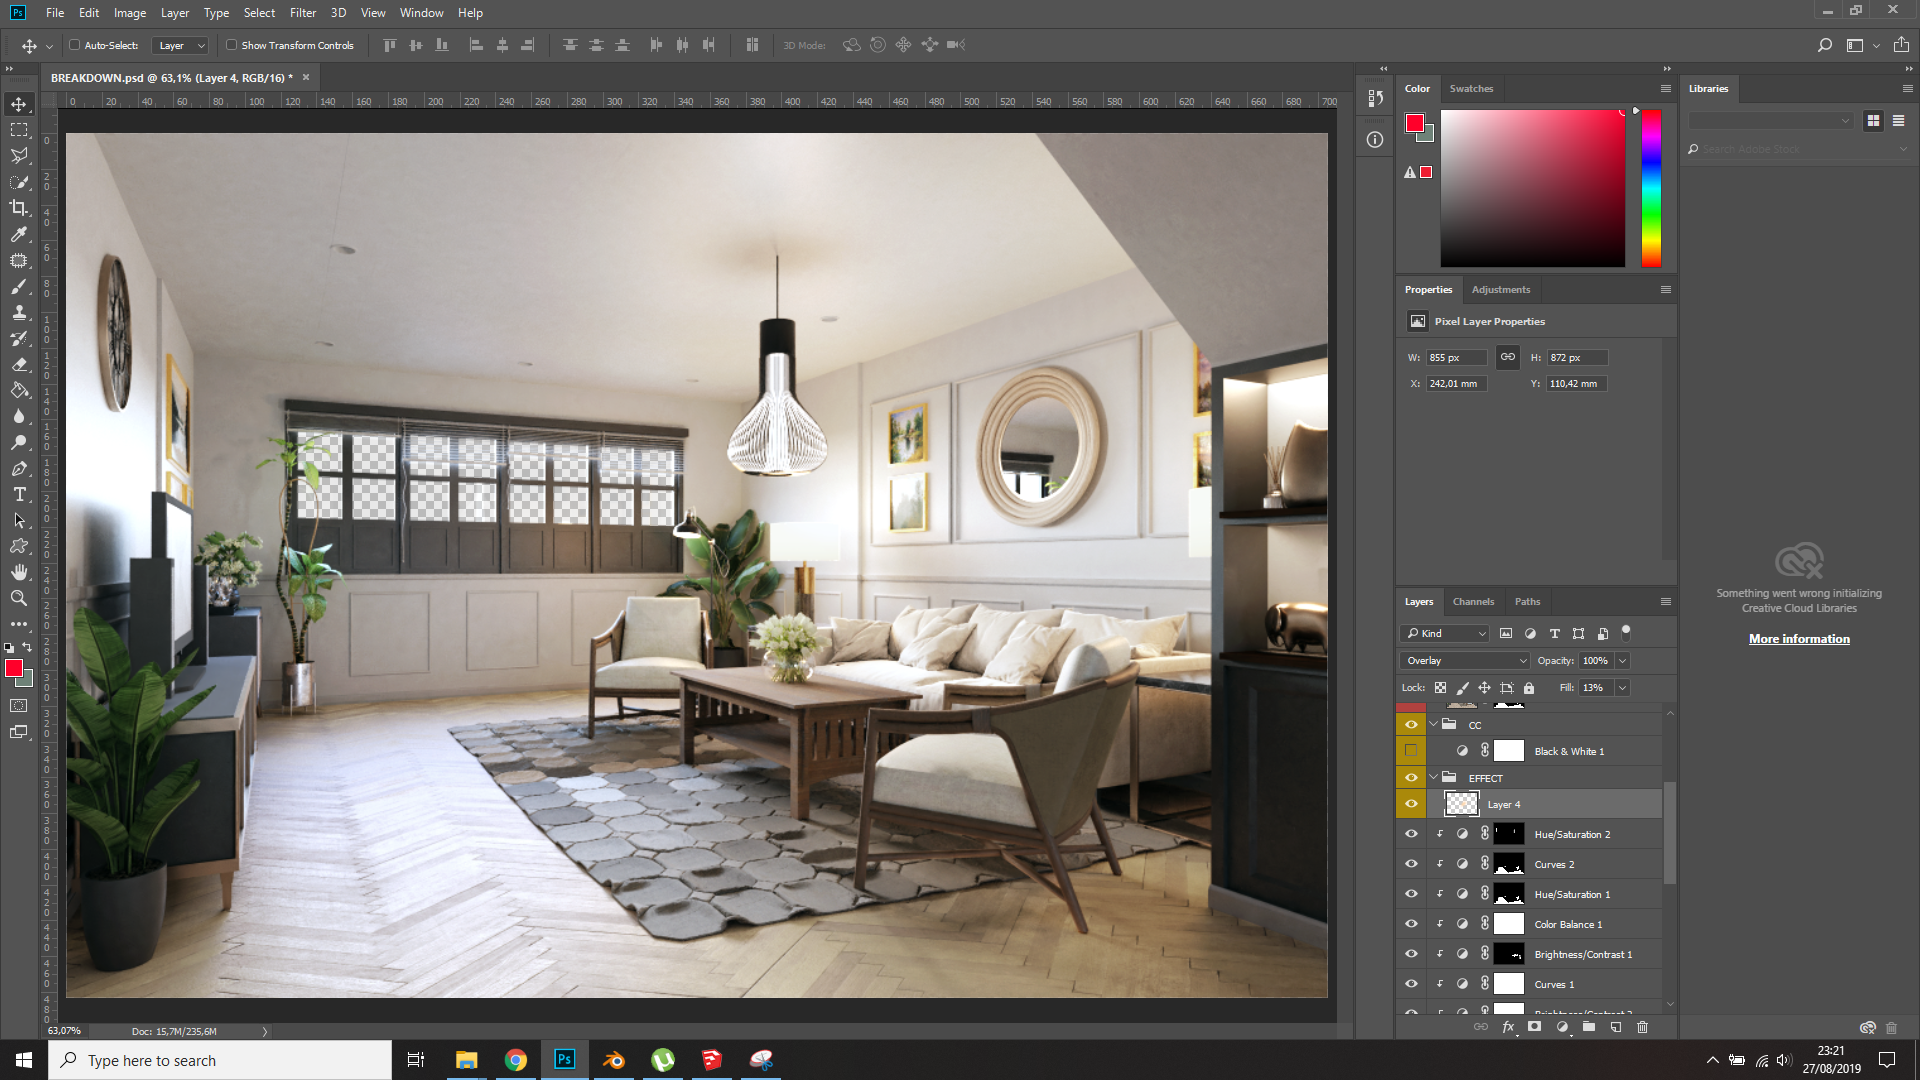
28. There’s a part in the foreground that’s too vibrant and it will distract from the focus of the scene, so I desaturate it.

29. Lowering value of the floor to reduce its interest.
30. Adding glow at the corner of the room to emphasize the room layout.
31. More contrast to make it feel like a sunny day.
32. Texture correction (for wooden floor and fabric on the armchair+sofas).
32. Adding backgrounds.


33. Done
I hope you will find something useful in this scene breakdown. If you have any questions let me know. You can direct message me on Instagram.
About the Author
 Remi Triadi, Creative Director at KunkunVisual