Behind the Scenes: Link! Open your eyes!
Hi all,
My name is Nhut Nguyen. I am living in Ho Chi Minh City, Viet Nam. Currently, I am working for a US-based mobile game company and I also do some freelance jobs on 3D illustrations and motion design.
I have been working in motion design for 4 years with so much passion. I love video games and I am curious about how people make characters’ movement in those games. I love to learn new things, which is why I started learning 3D illustration. I only have 6 months experience using Blender and it’s really hard to use at the beginning, so I occasionally gave up learning. It takes lots of practice; I found a way to do it better and it has become my favorite tool for now.
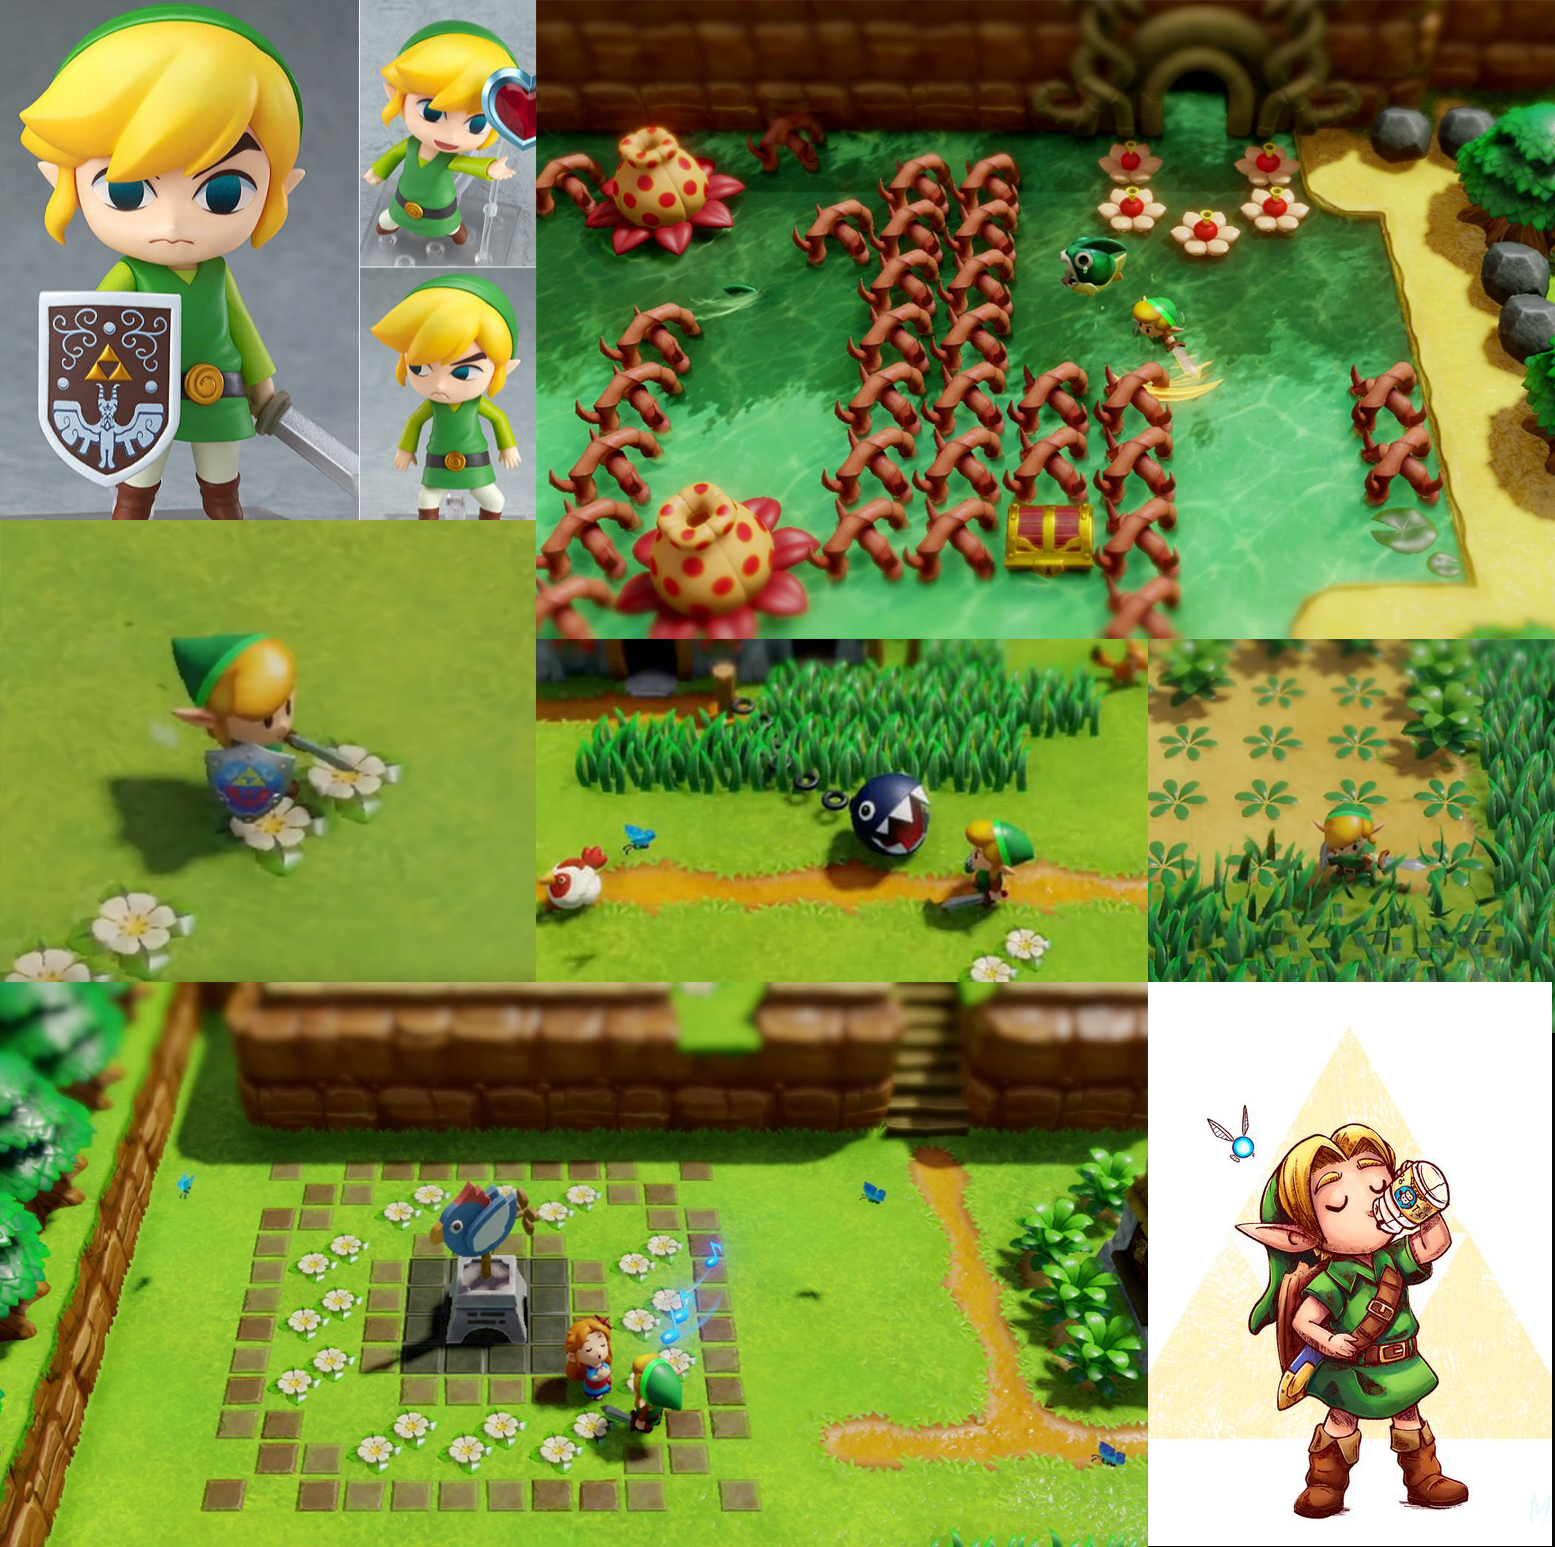
This project comes from an idea that I saw in the new Zelda game trailer on Nintendo Switch. I love this game so much and am looking forward to playing it. The anticipation inspired me to make this shot.
Here is the trailer:
Workflow
References: I researched Zelda: Link’s Awakening on Pinterest before the modeling step and picked out elements such as the flowers, grass, fairy, etc.
Modeling: I just used basic tools to make a low-poly model.


Here is my simple trick for low-poly modeling:
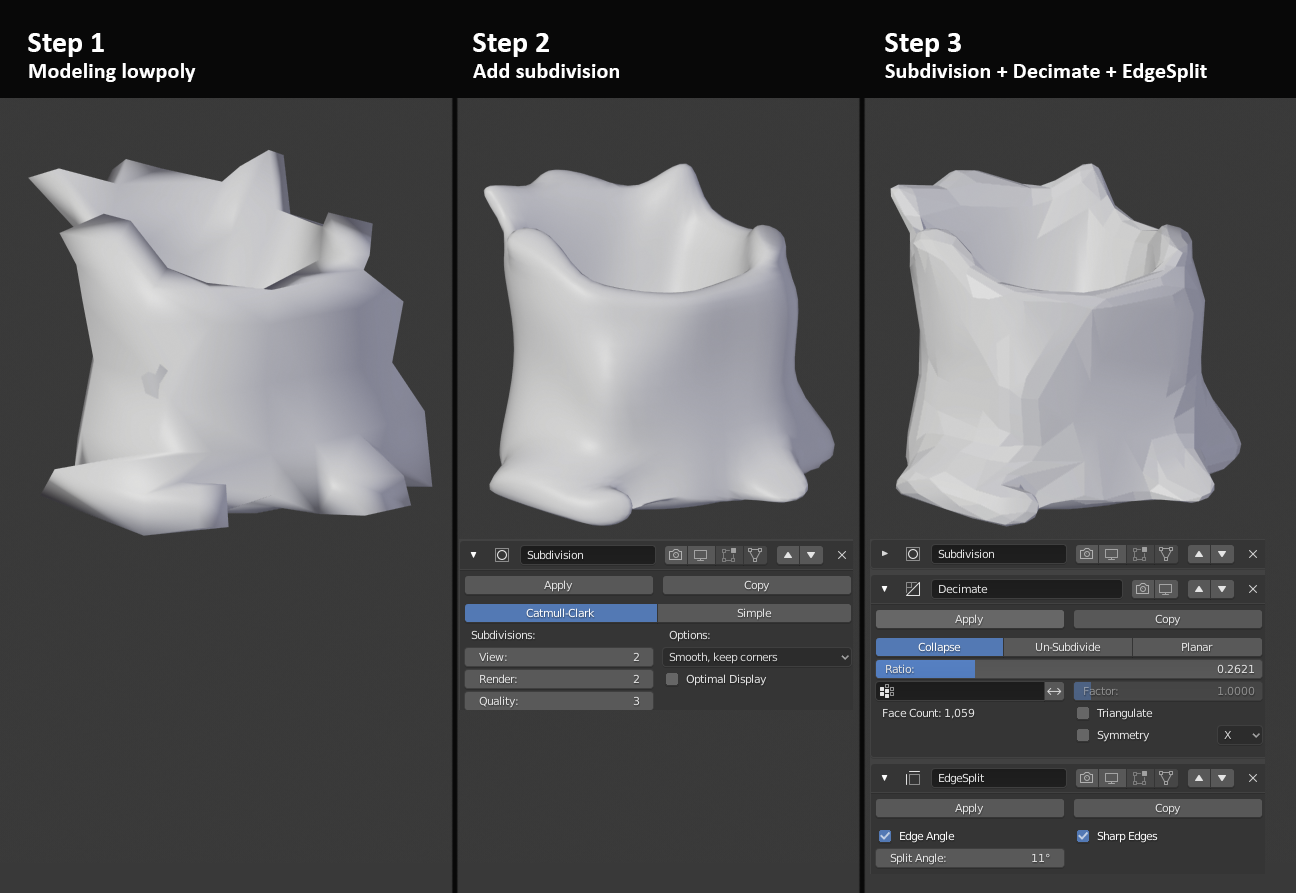
Using this method will randomise your model’s polygon mesh. I used this trick for all models of my scene.
Light setup: I only worked on one light source at a time and moved on to the next light source after I was satisfied. This method really helps to improve my lighting skills a lot.


Add smoke: I just created a box and added a smoke shader for it. Here is my smoke shader:

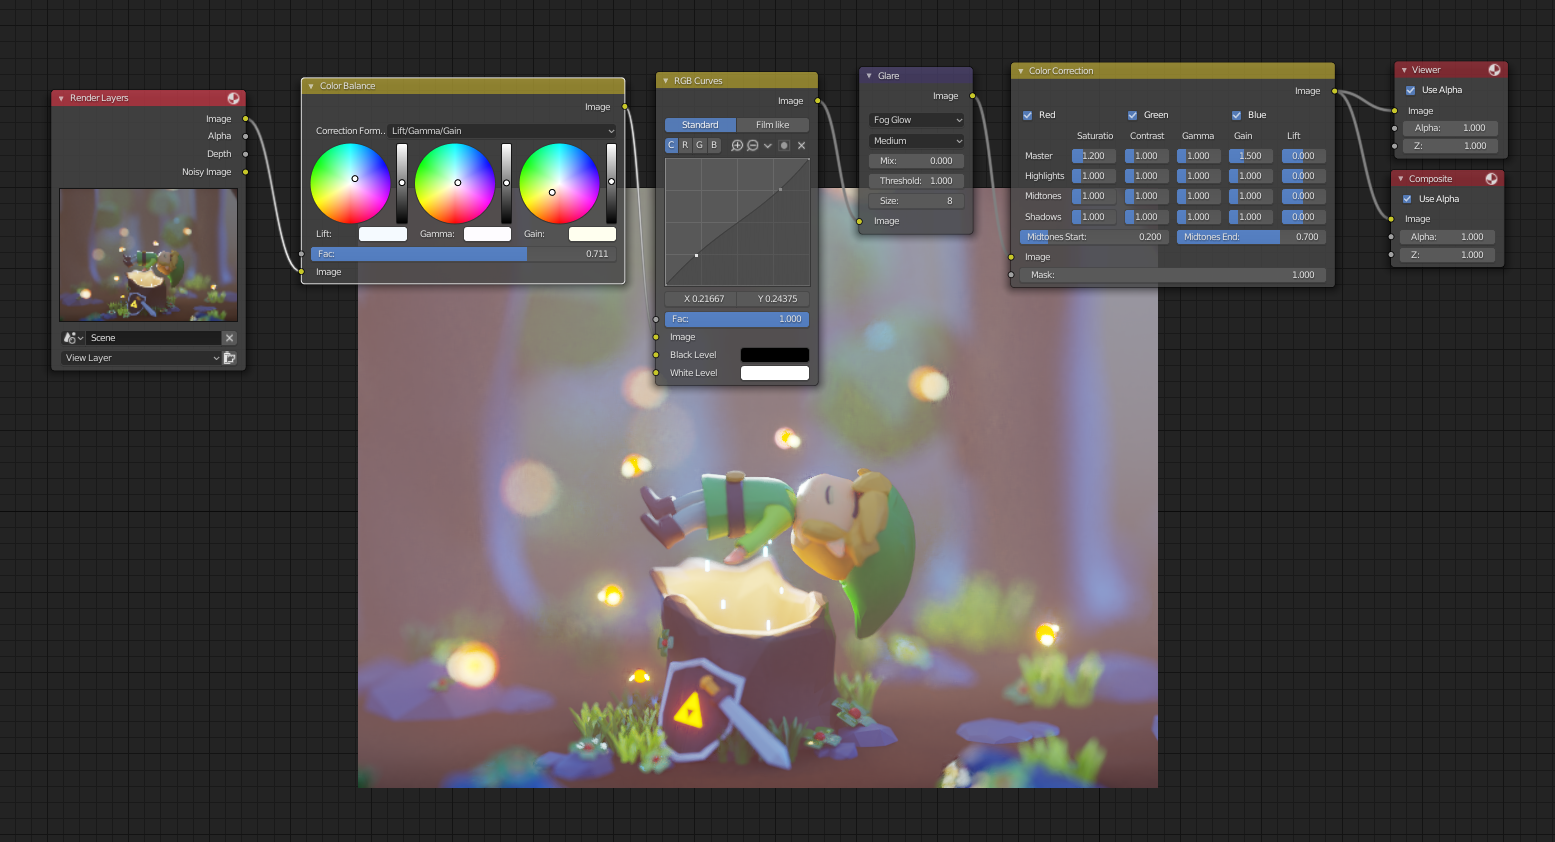
Compositing: I added some simple nodes and played with it to tweak the color until I was happy with the result. In this case I was trying to improve my smoke effect, lighting color, glowing effect.
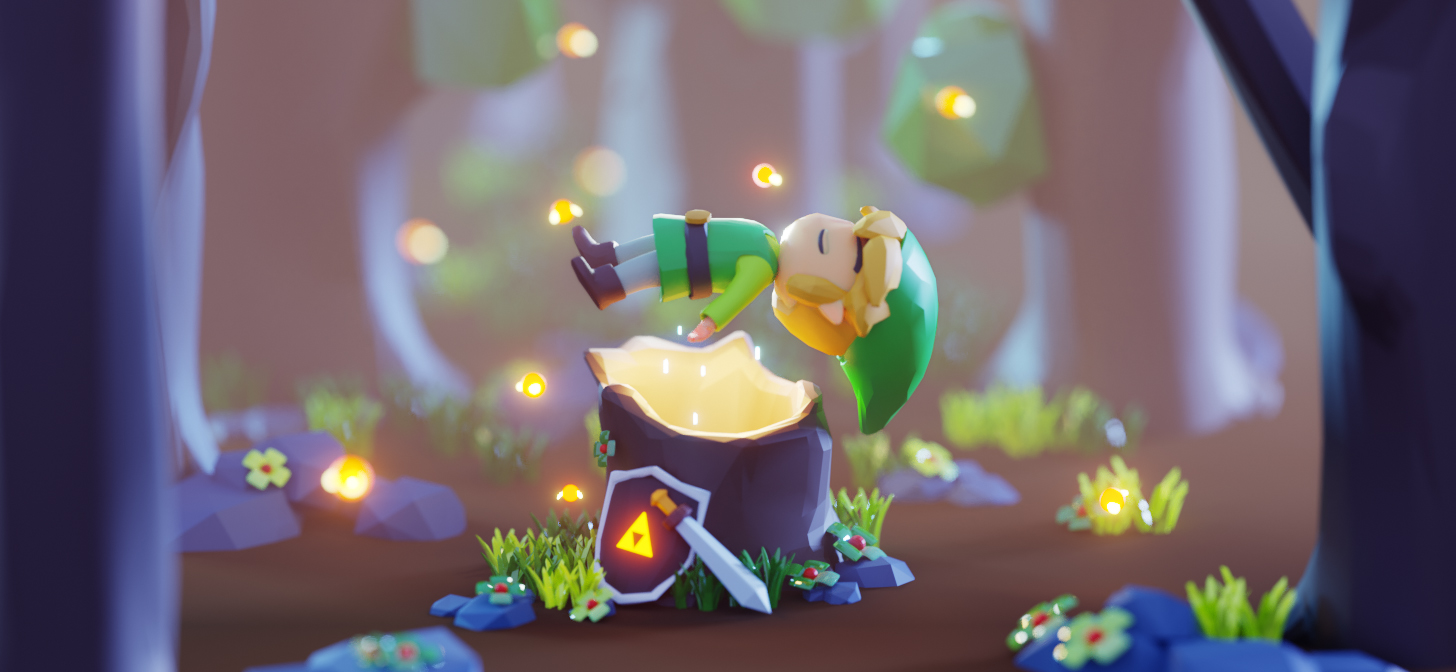
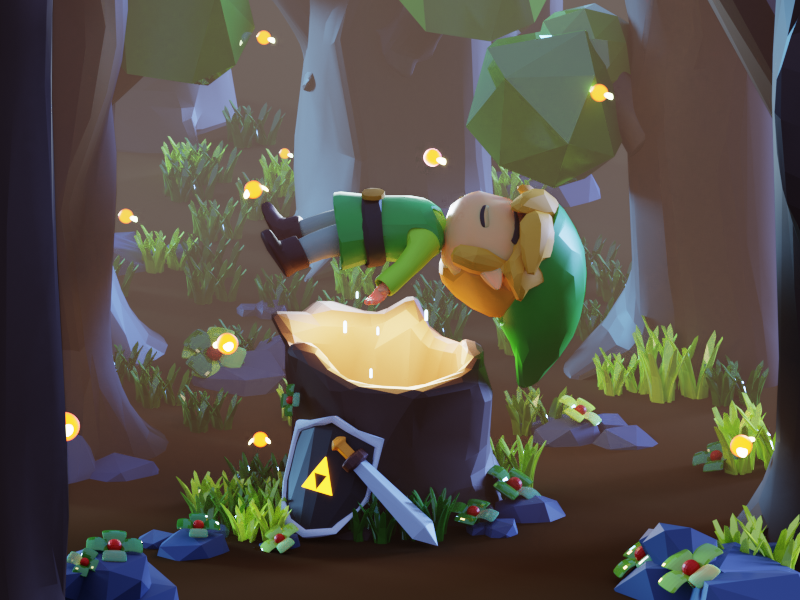
Final render